How to assemble Smart Ballet Tutu with164 LEDs
This manual will tell you how to assemble and work with Smart Ballet Tutu with164 LEDs
To work with the Ballet tutu, you need to purchase 14500 batteries
Unlike 18650 batteries, 14500 batteries do not have to be flat.
Required characteristics:
Voltage: 3.7 Volts. Please note that there are also batteries with a voltage of 1.5V, they will NOT SUIT.
Capacity: about 1000mAh. But it makes no sense to buy more than 1500 mAh, since this is the maximum capacity for this type of battery, and the numbers are more of a marketing ploy
Current: All batteries of this type have the same working current, they differ only in capacity
Where to buy: This type of battery is used in radio-controlled toys, quadcopters and electronic cigarettes. Accordingly, batteries of this type can be bought in large toy stores and vape shops.
Current: All batteries of this type have the same working current, they differ only in capacity
Where to buy: This type of battery is used in radio-controlled toys, quadcopters and electronic cigarettes. Accordingly, batteries of this type can be bought in large toy stores and vape shops.
Also, when buying any battery, do not forget to purchase a specialized charger for it. Examples of chargers are shown below:
After you have purchased the necessary batteries, you can start assembling. Each tutu requires one, 14500 battery.
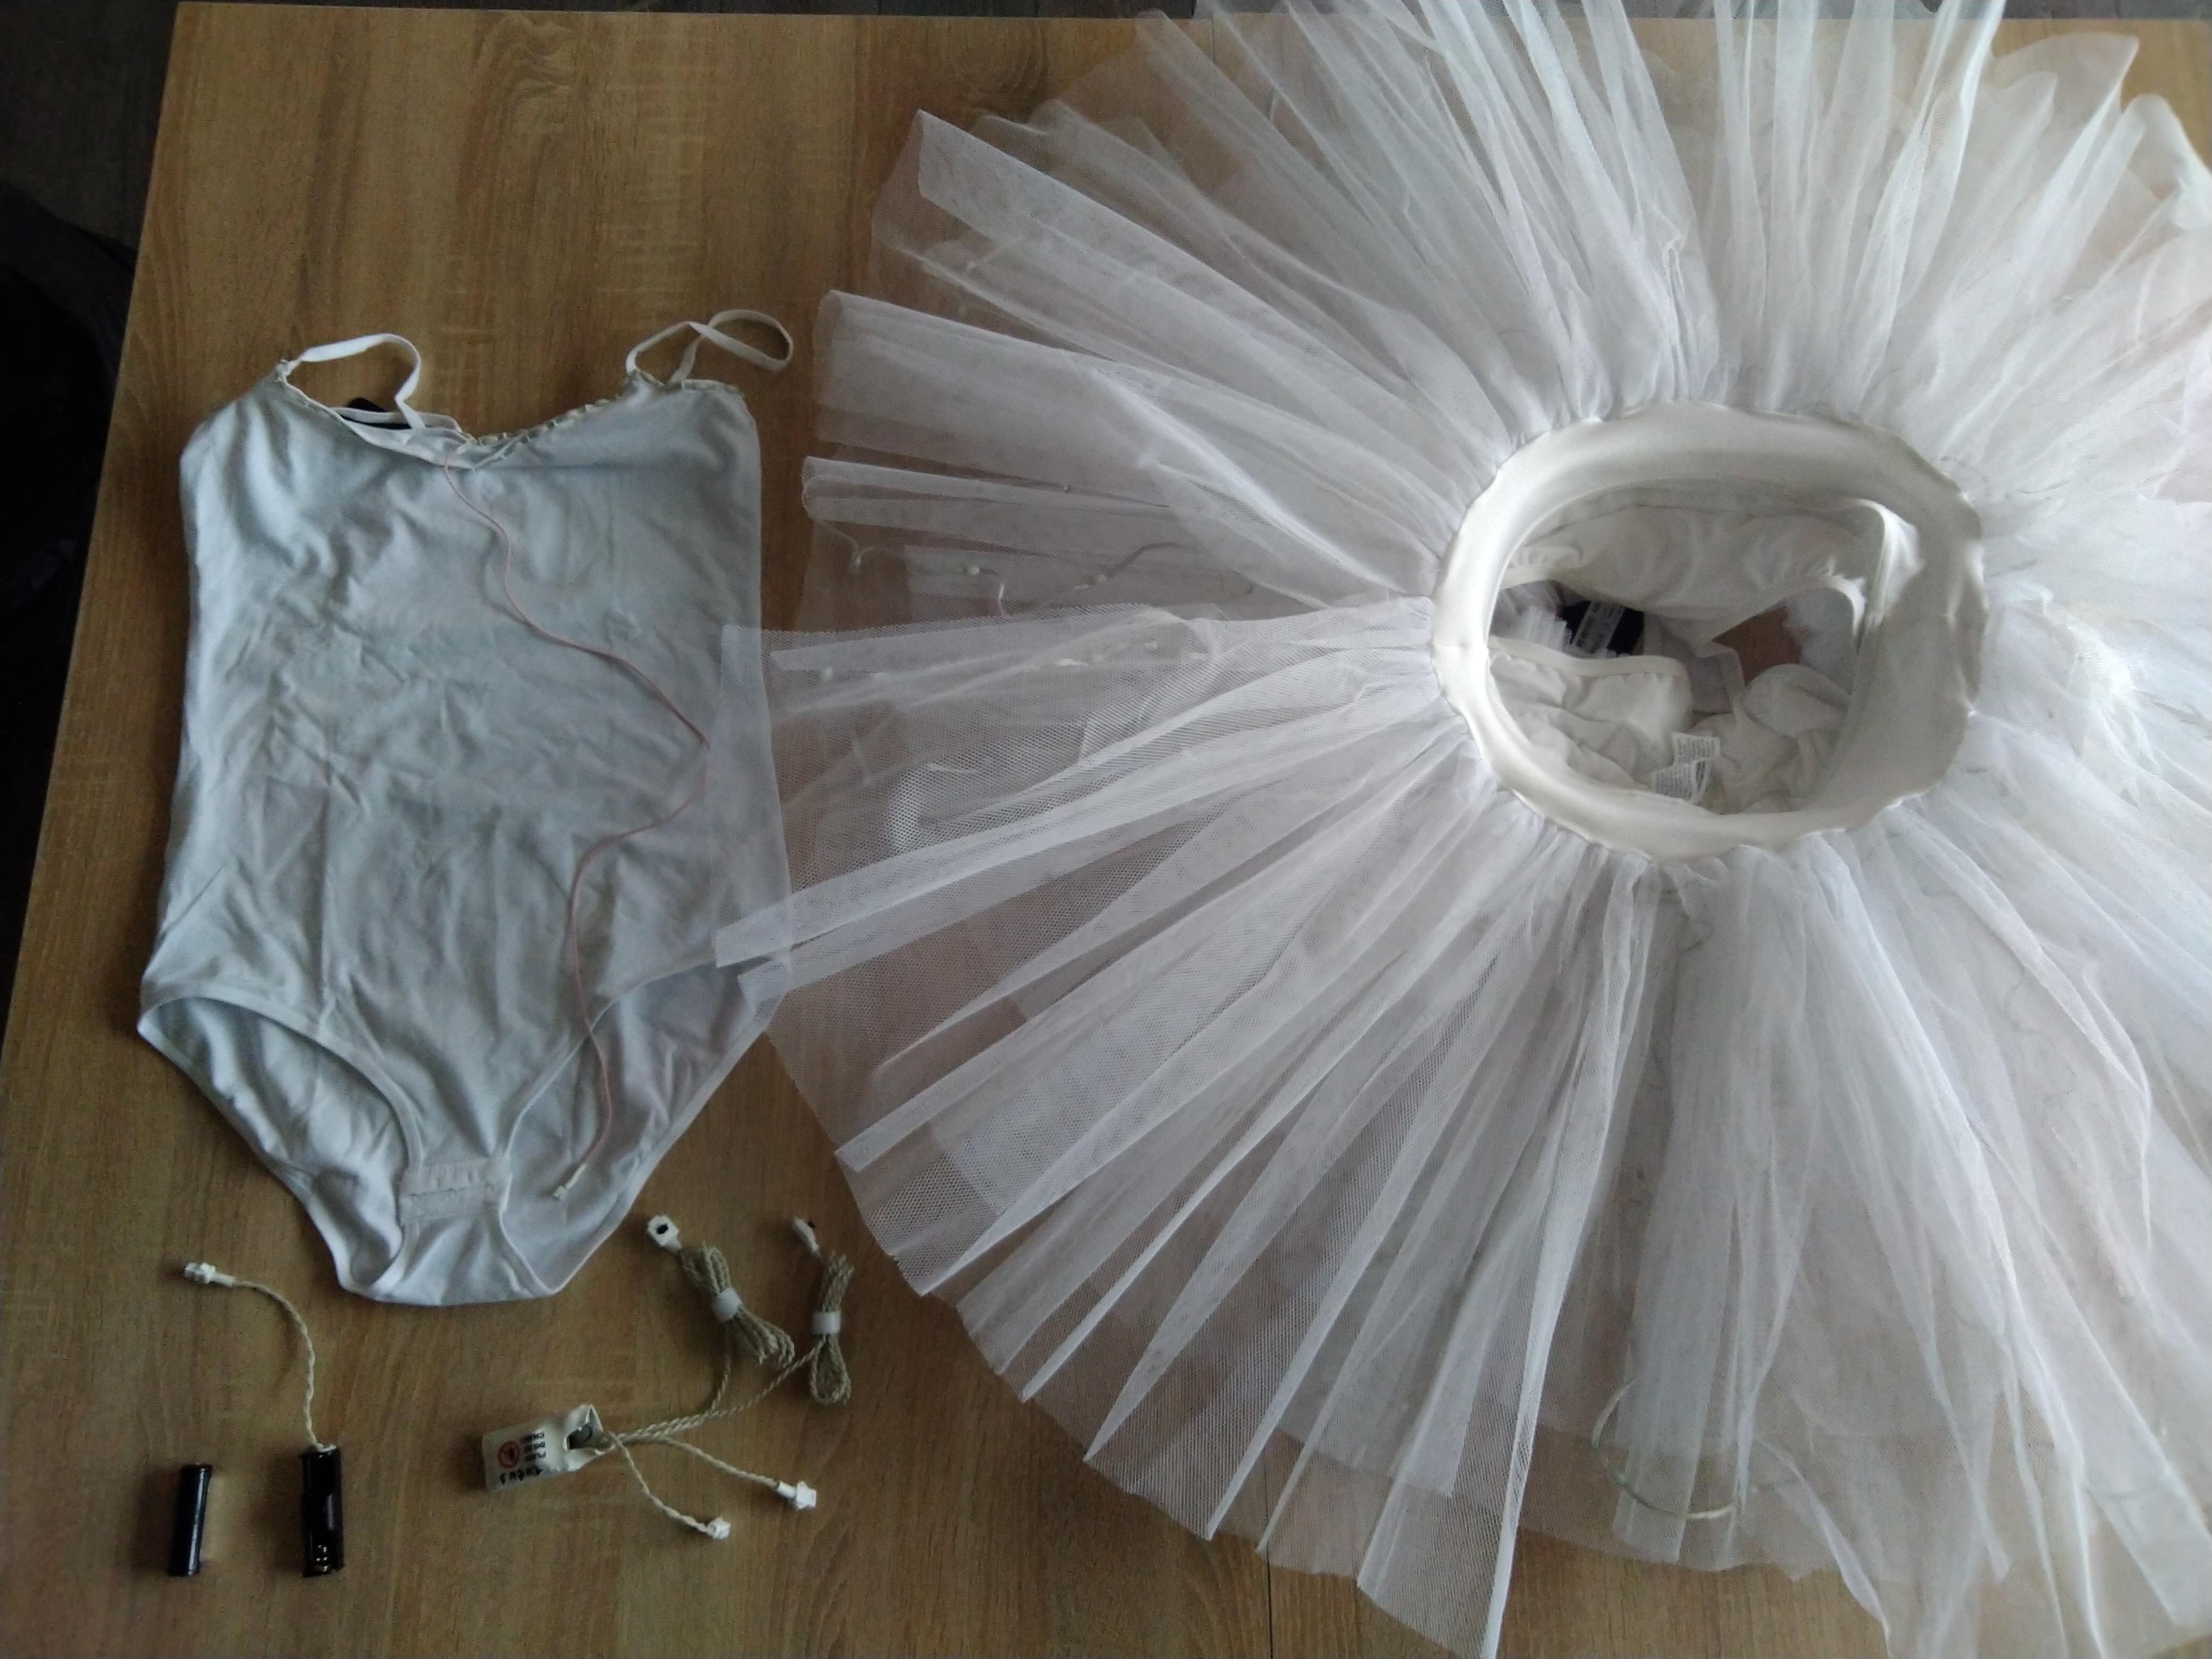
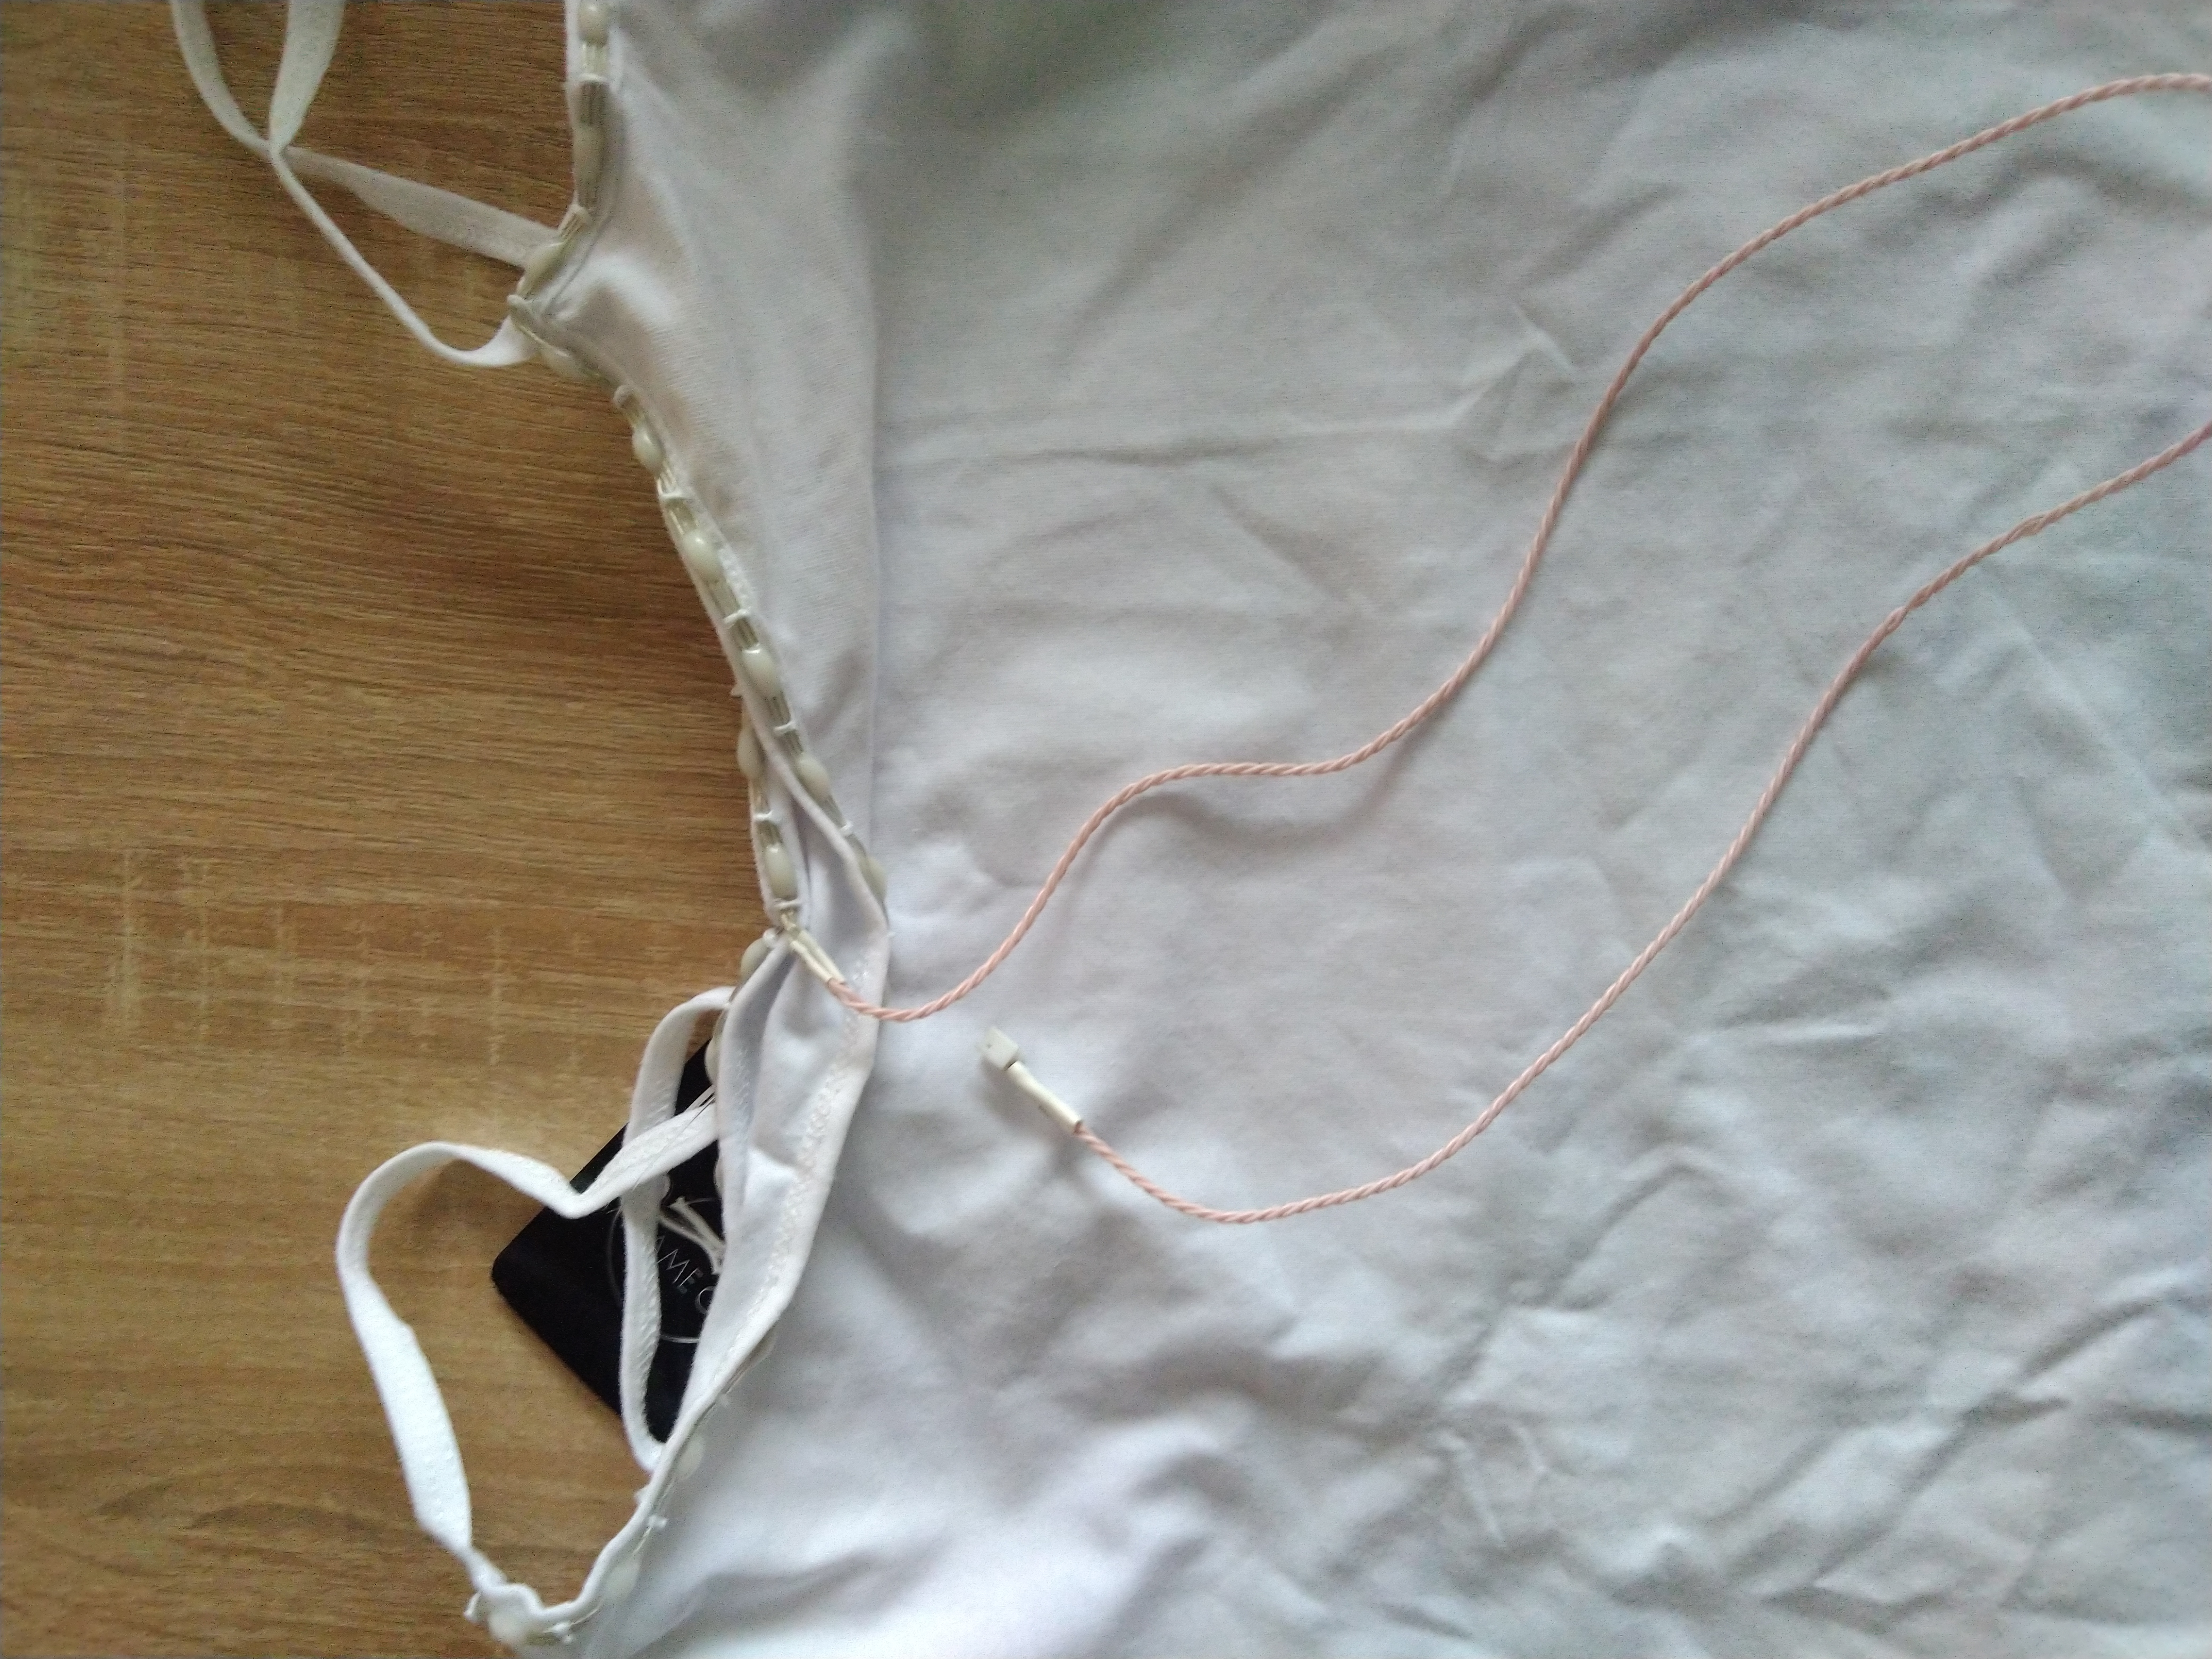
1) Connect the bodysuit to the small connector on the tutu. All connectors are located near the bag for the controller and battery under the first layer of fabric:

2) Connect the controller to the larger connector on the tutu and place it in the pocket
3) Insert a 14500 type battery into the battery box and connect it to the connector on the controller
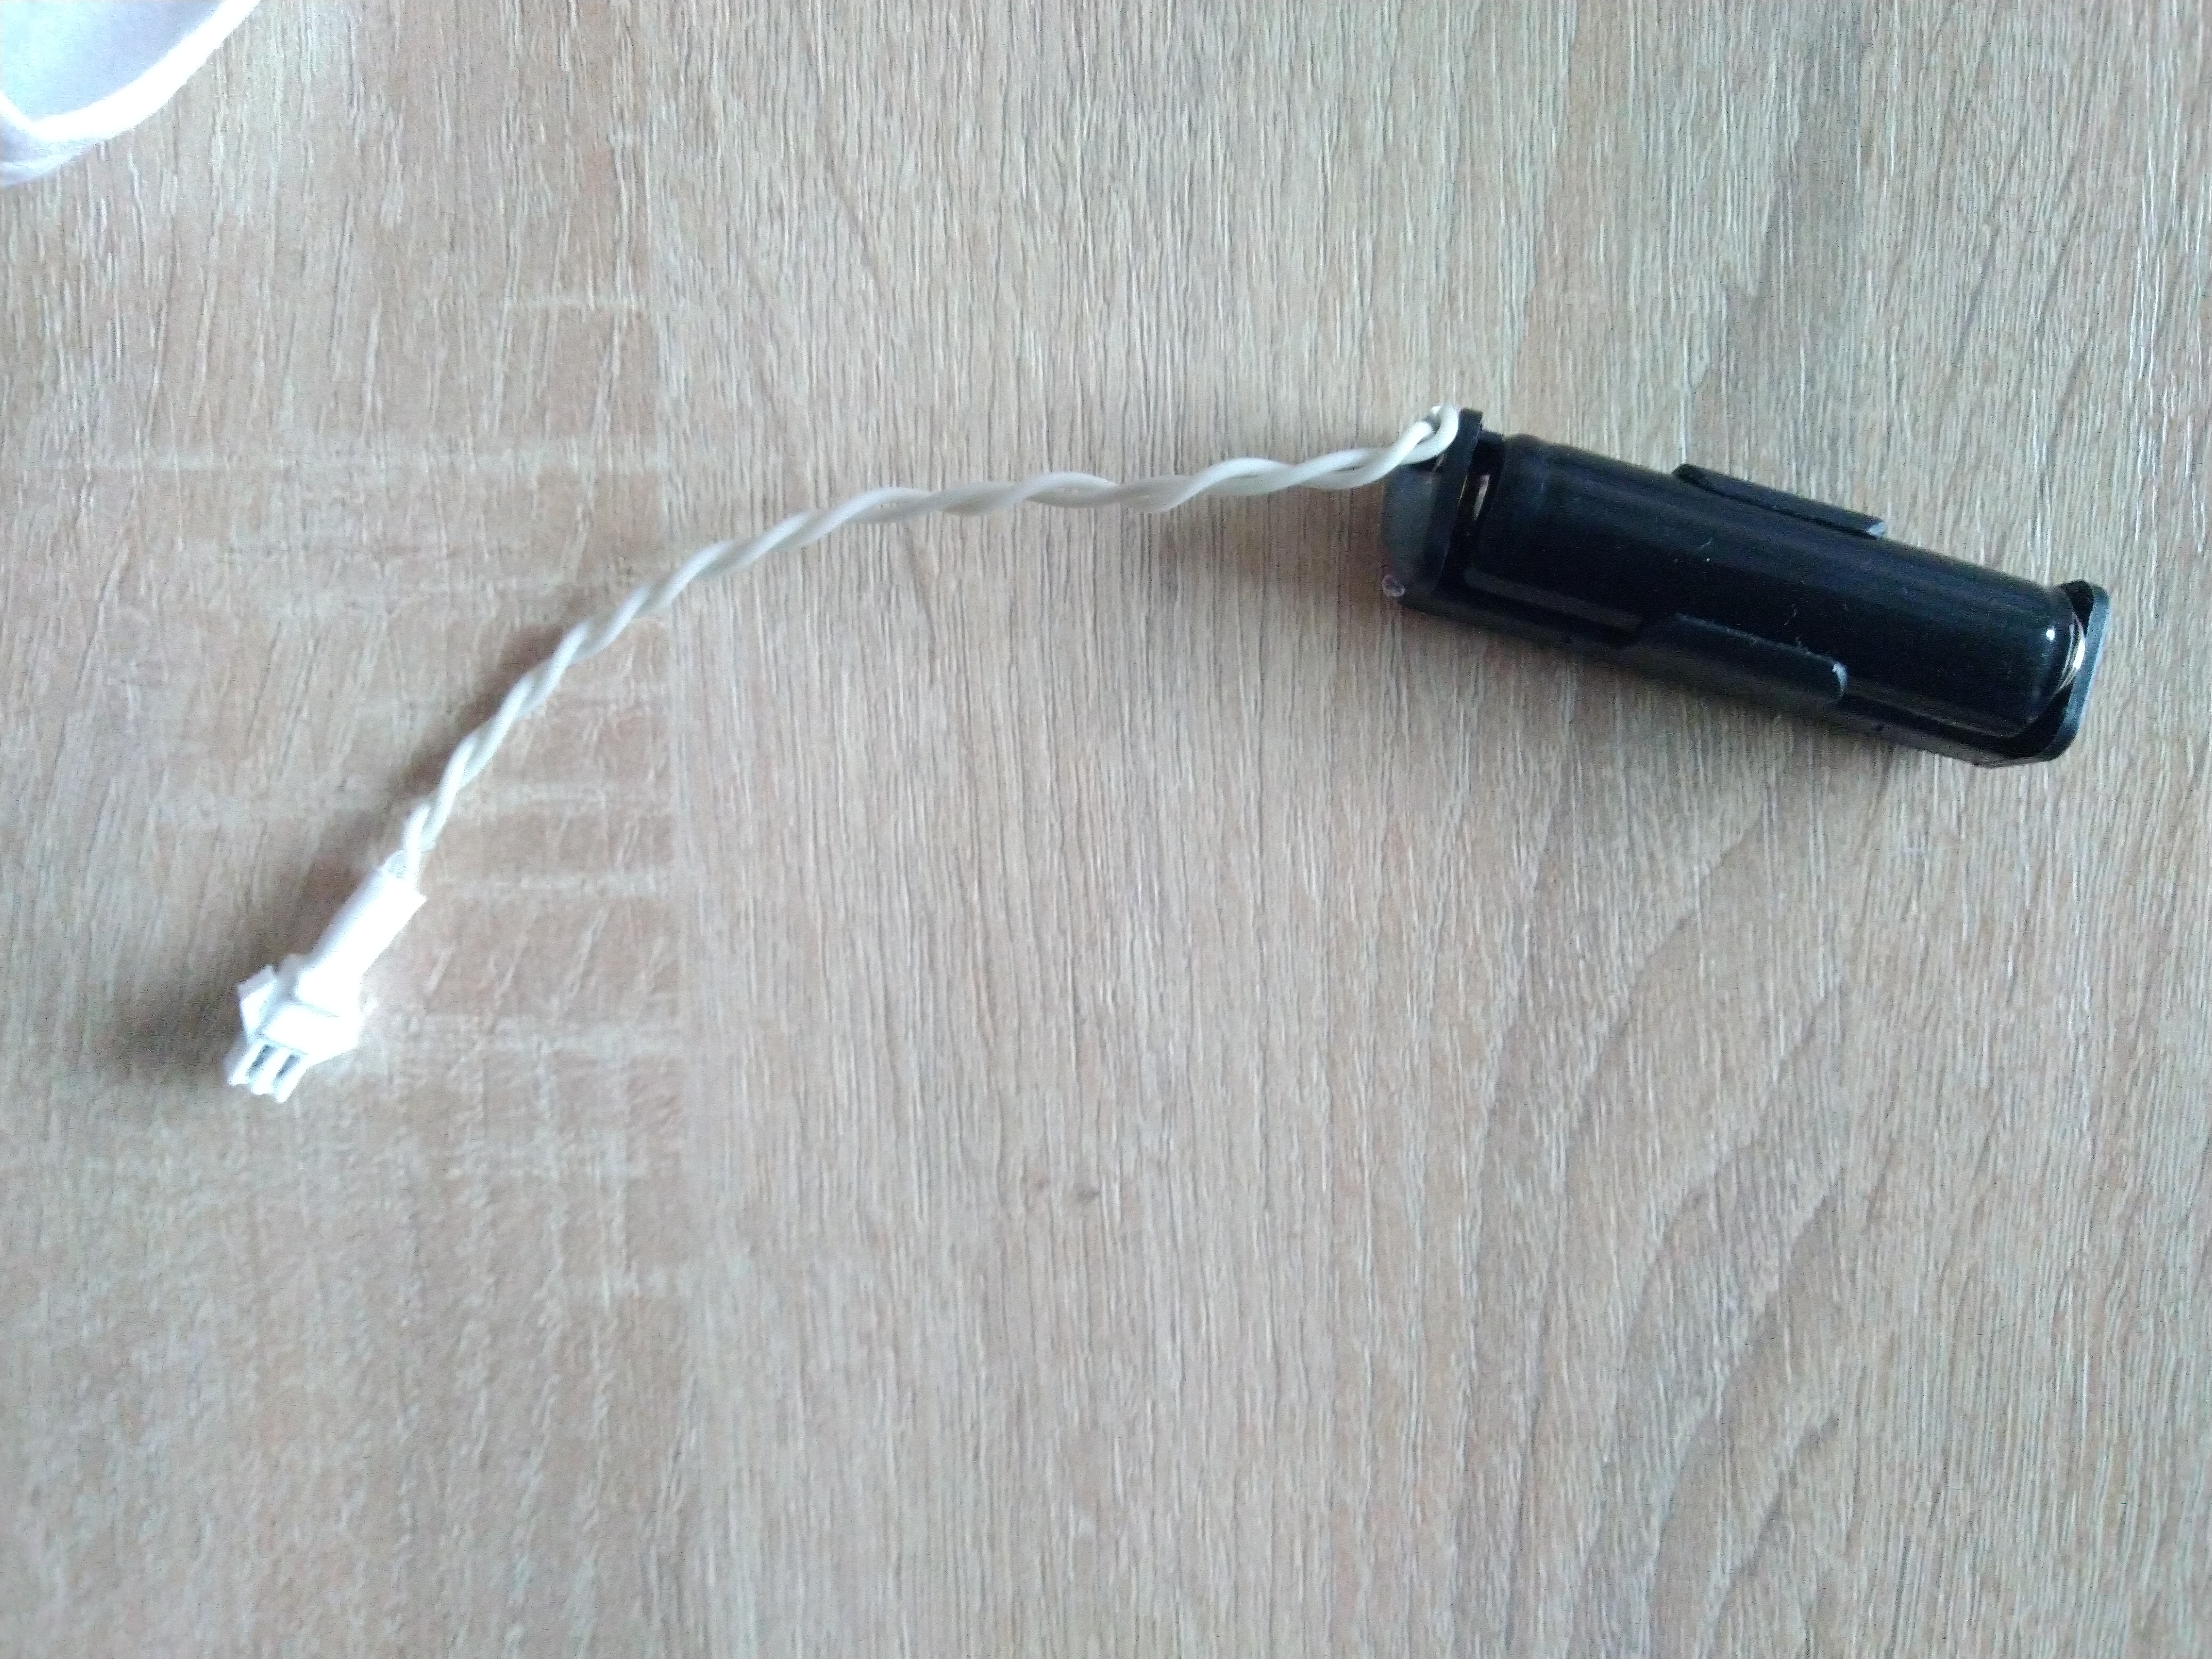
Then connect the battery box, the LED on the controller will light up in blue
Then connect the battery box, the LED on the controller will light up in blue
After that, press any button on the controller to turn on the effects. One button switches the effects forward and the other backward.
To turn off the effects, you need to hold any button for 3 seconds, then release it and the effect will stop.
At the end of working with the wings, disconnect the battery box. The battery can not be removed.
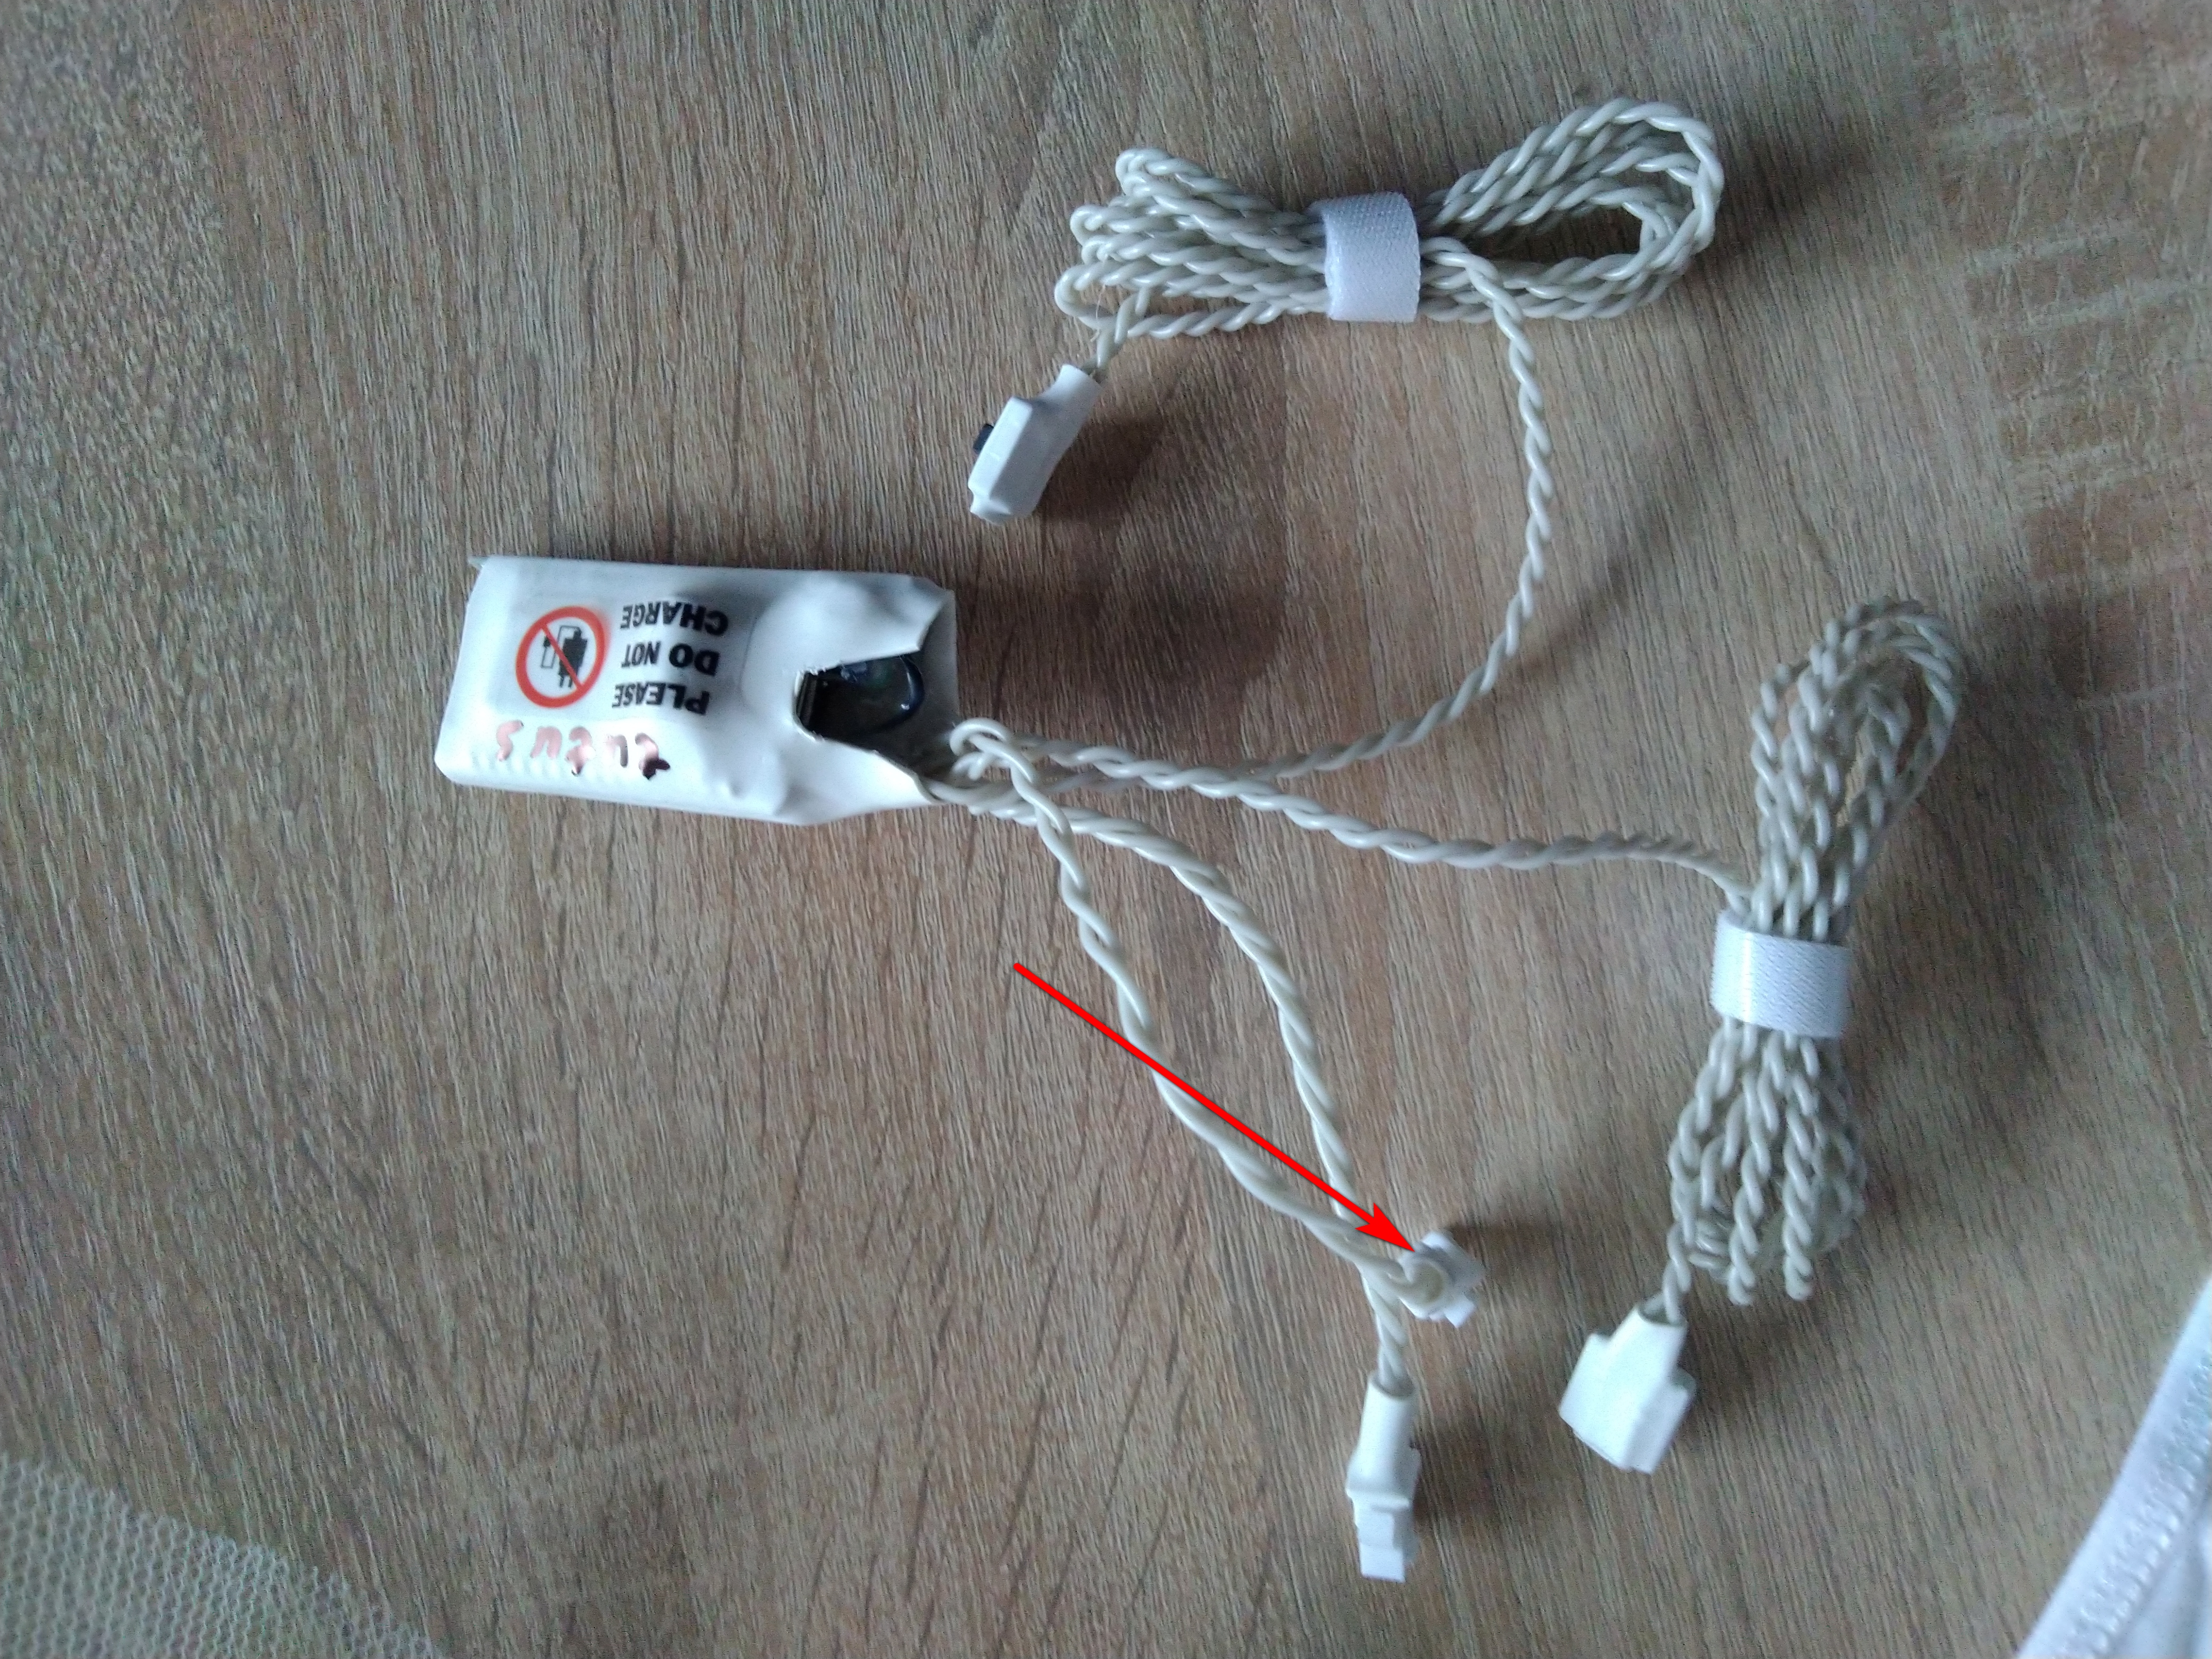
To charge the battery, you can use a specialized charger, or charge the battery using an adapter from the repair kit (this is a package with spare parts):

To charge the battery, you can use a specialized charger, or charge the battery using an adapter from the repair kit (this is a package with spare parts):
To charge the battery, connect the battery box to the adapter. And connect the adapter via micro USB cable to the charger from your mobile phone.
During charging, the LED on the adapter will glow red, and when charging is complete, it will turn blue. The adapter may get warm while charging, don't worry, this is normal.


On the controller (the part with the buttons) you will also find a micro USB, it serves for configuration and does not need to be charged!
Related Articles
How to assemble Smart LED Bellydance Rainbow wings – 500 LEDs by ETERESHOP B05
This manual will tell you how to assemble and work with Smart LED Bellydance Rainbow wings – 500 LEDs by ETERESHOP B05 To work with the wings, you need to purchase 18650 batteries Flat-top batteries are recommended, but not required. Make sure the ...How to assemble Smart LED Rainbow Screen Mask
This manual will tell you how to assemble and work with Smart LED Rainbow Screen Mask To work with the Ballet tutu, you need to purchase 18650 batteries Flat-top batteries are recommended, but not required. Make sure the battery is 65 mm long, some ...How to assemble Smart Pixel Fairy Cosplay Angel Wings with 200 LEDs by ETERESHOP O11
This manual will tell you how to assemble and work with Smart Pixel Fairy Cosplay Angel Wings with 200 LEDs by ETERESHOP O11 To work with the wings, you need to purchase 18650 batteries Flat-top batteries are recommended, but not required. Make sure ...How to assemble EVA Dress SMART LED
This manual will tell you how to assemble and work with EVA Dress SMART LED and other similar dresses To work with the dress, you need to purchase 18650 batteries Flat-top batteries are recommended, but not required. Make sure the battery is 65 mm ...Assembling a large dodecahedron
List of elements: mirror panels - 12 pcs metal edges (long ones - 10 pcs, medium - 10 pcs, short - 10 pcs) metal stars (big ones - 15 pcs, medium - 5 pcs, small - 5 pcs) screws base power supplies (3 pcs) control panel 1 pc Dodecahedron assembly 1.1 ...