How to assemble EVA Dress SMART LED
This manual will tell you how to assemble and work with EVA Dress SMART LED and other similar dresses
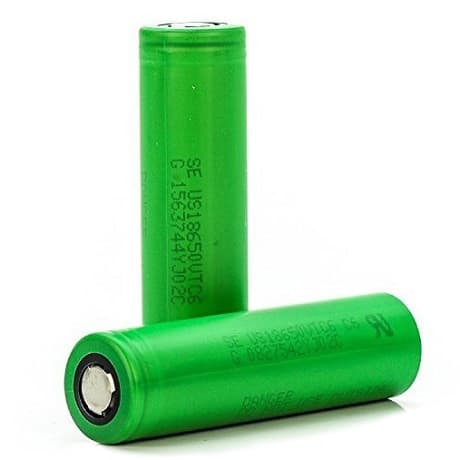
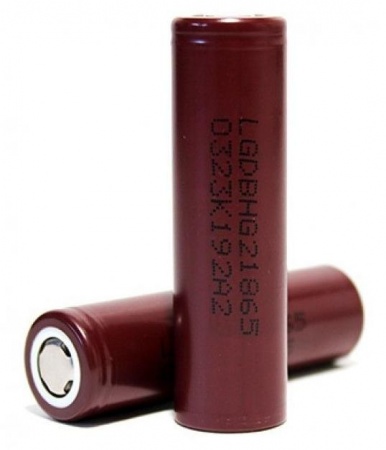
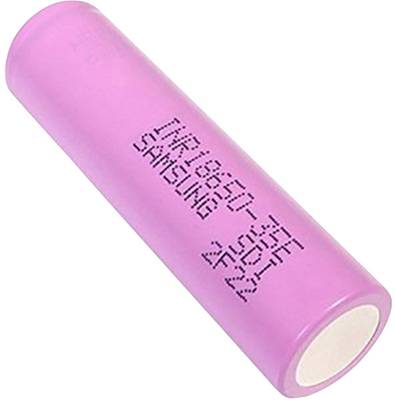
To work with the dress, you need to purchase 18650 batteries

Also, when buying any battery, do not forget to purchase a specialized charger for it. Examples of chargers are shown below:

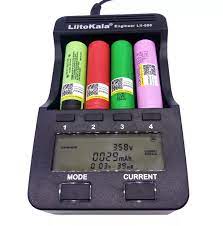

How to charge batteries with Imax B6 you will find at this link:
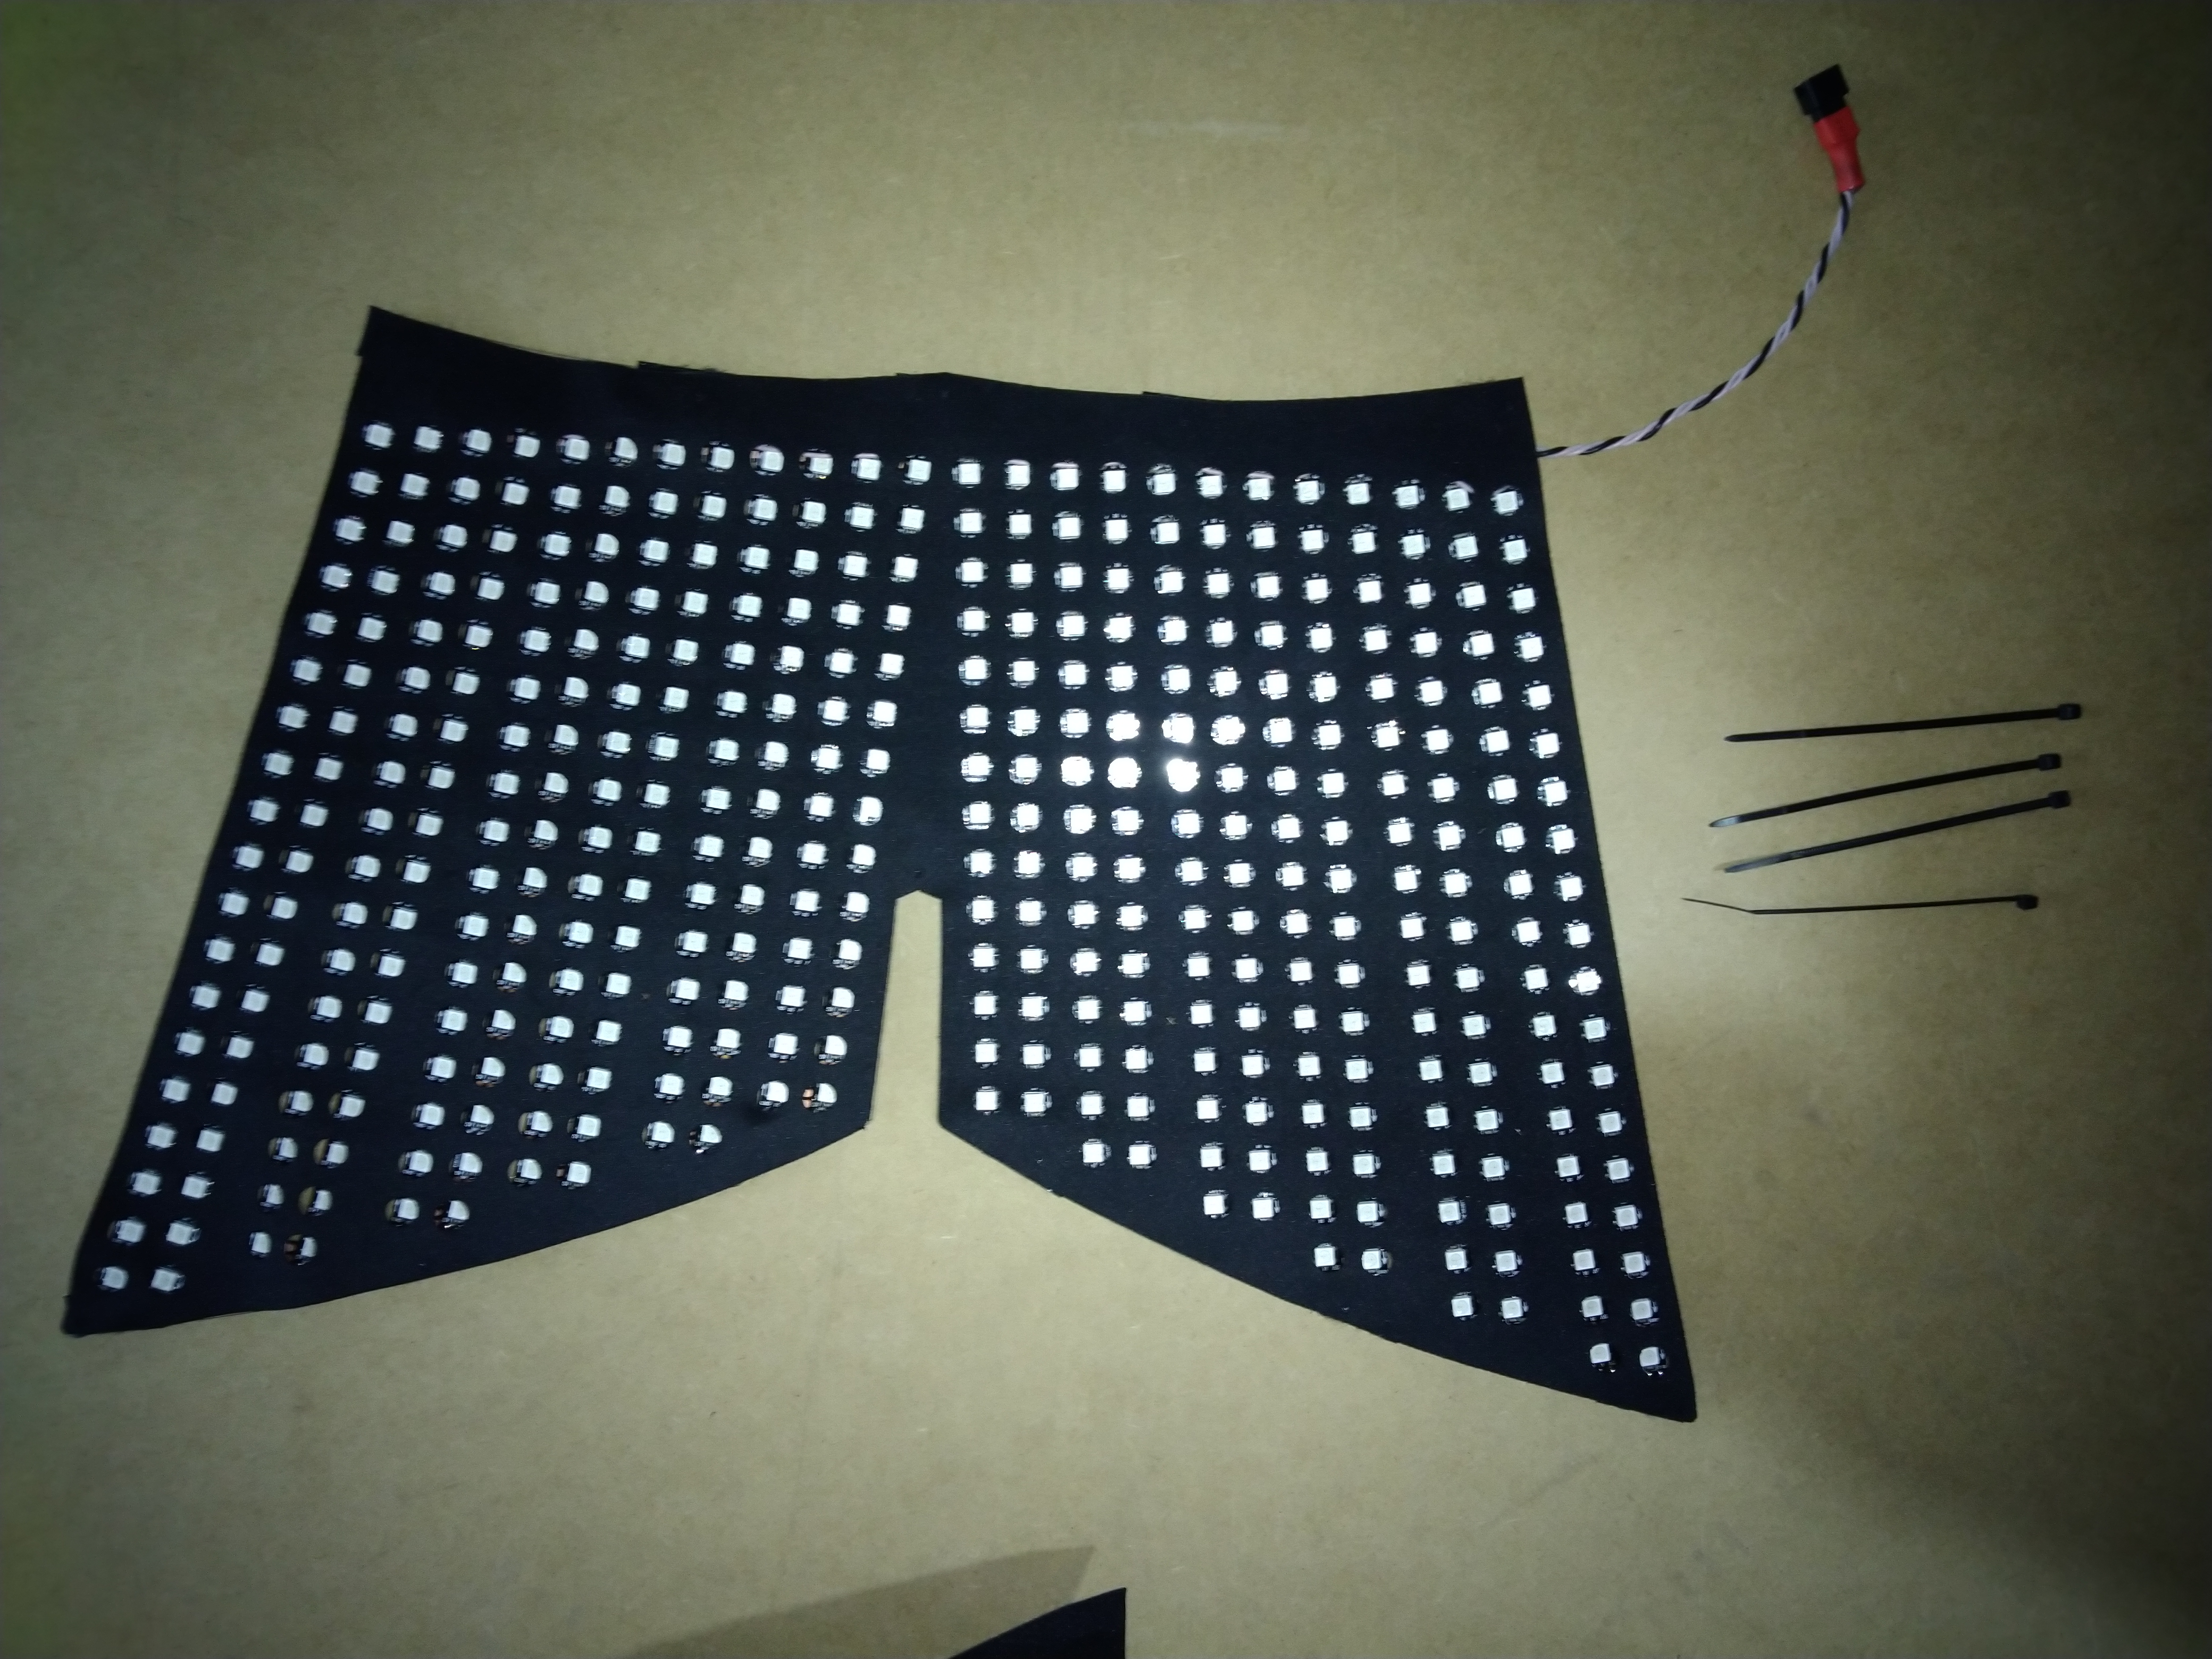
1) Take the top of the dress and remove the fabric overlay from the LEDs. The fabric overlay is attached with Velcro, so it will be easy to remove:

Flat-top batteries are recommended, but not required. Make sure the battery is 65 mm long, some batteries may be 2-3 mm longer, and you will not be able to insert the batteries into the holders.
Voltage: 3.7 Volts
Current: Rated current not less than 10 Amperes! This parameter is the most important! Do not buy batteries designed for flashlights, especially if the current is not indicated on the box.
Recommended capacity: 2500 - 3800 mAh. 3800 mAh is the maximum capacity of this type of battery. If you see 4000 - 9000 mAh — this is a fake capacity.
Recommended capacity: 2500 - 3800 mAh. 3800 mAh is the maximum capacity of this type of battery. If you see 4000 - 9000 mAh — this is a fake capacity.
Where to buy: This type of battery can definitely be purchased in a vape shop, it is better to purchase batteries from well-known brands. Such as: Samsung, LG or Sony
Examples of suitable batteries:
Also, when buying any battery, do not forget to purchase a specialized charger for it. Examples of chargers are shown below:
If you have many of our products, or want to charge many batteries at the same time, then we recommend purchasing the Imax B6 smart charger:
How to charge batteries with Imax B6 you will find at this link:
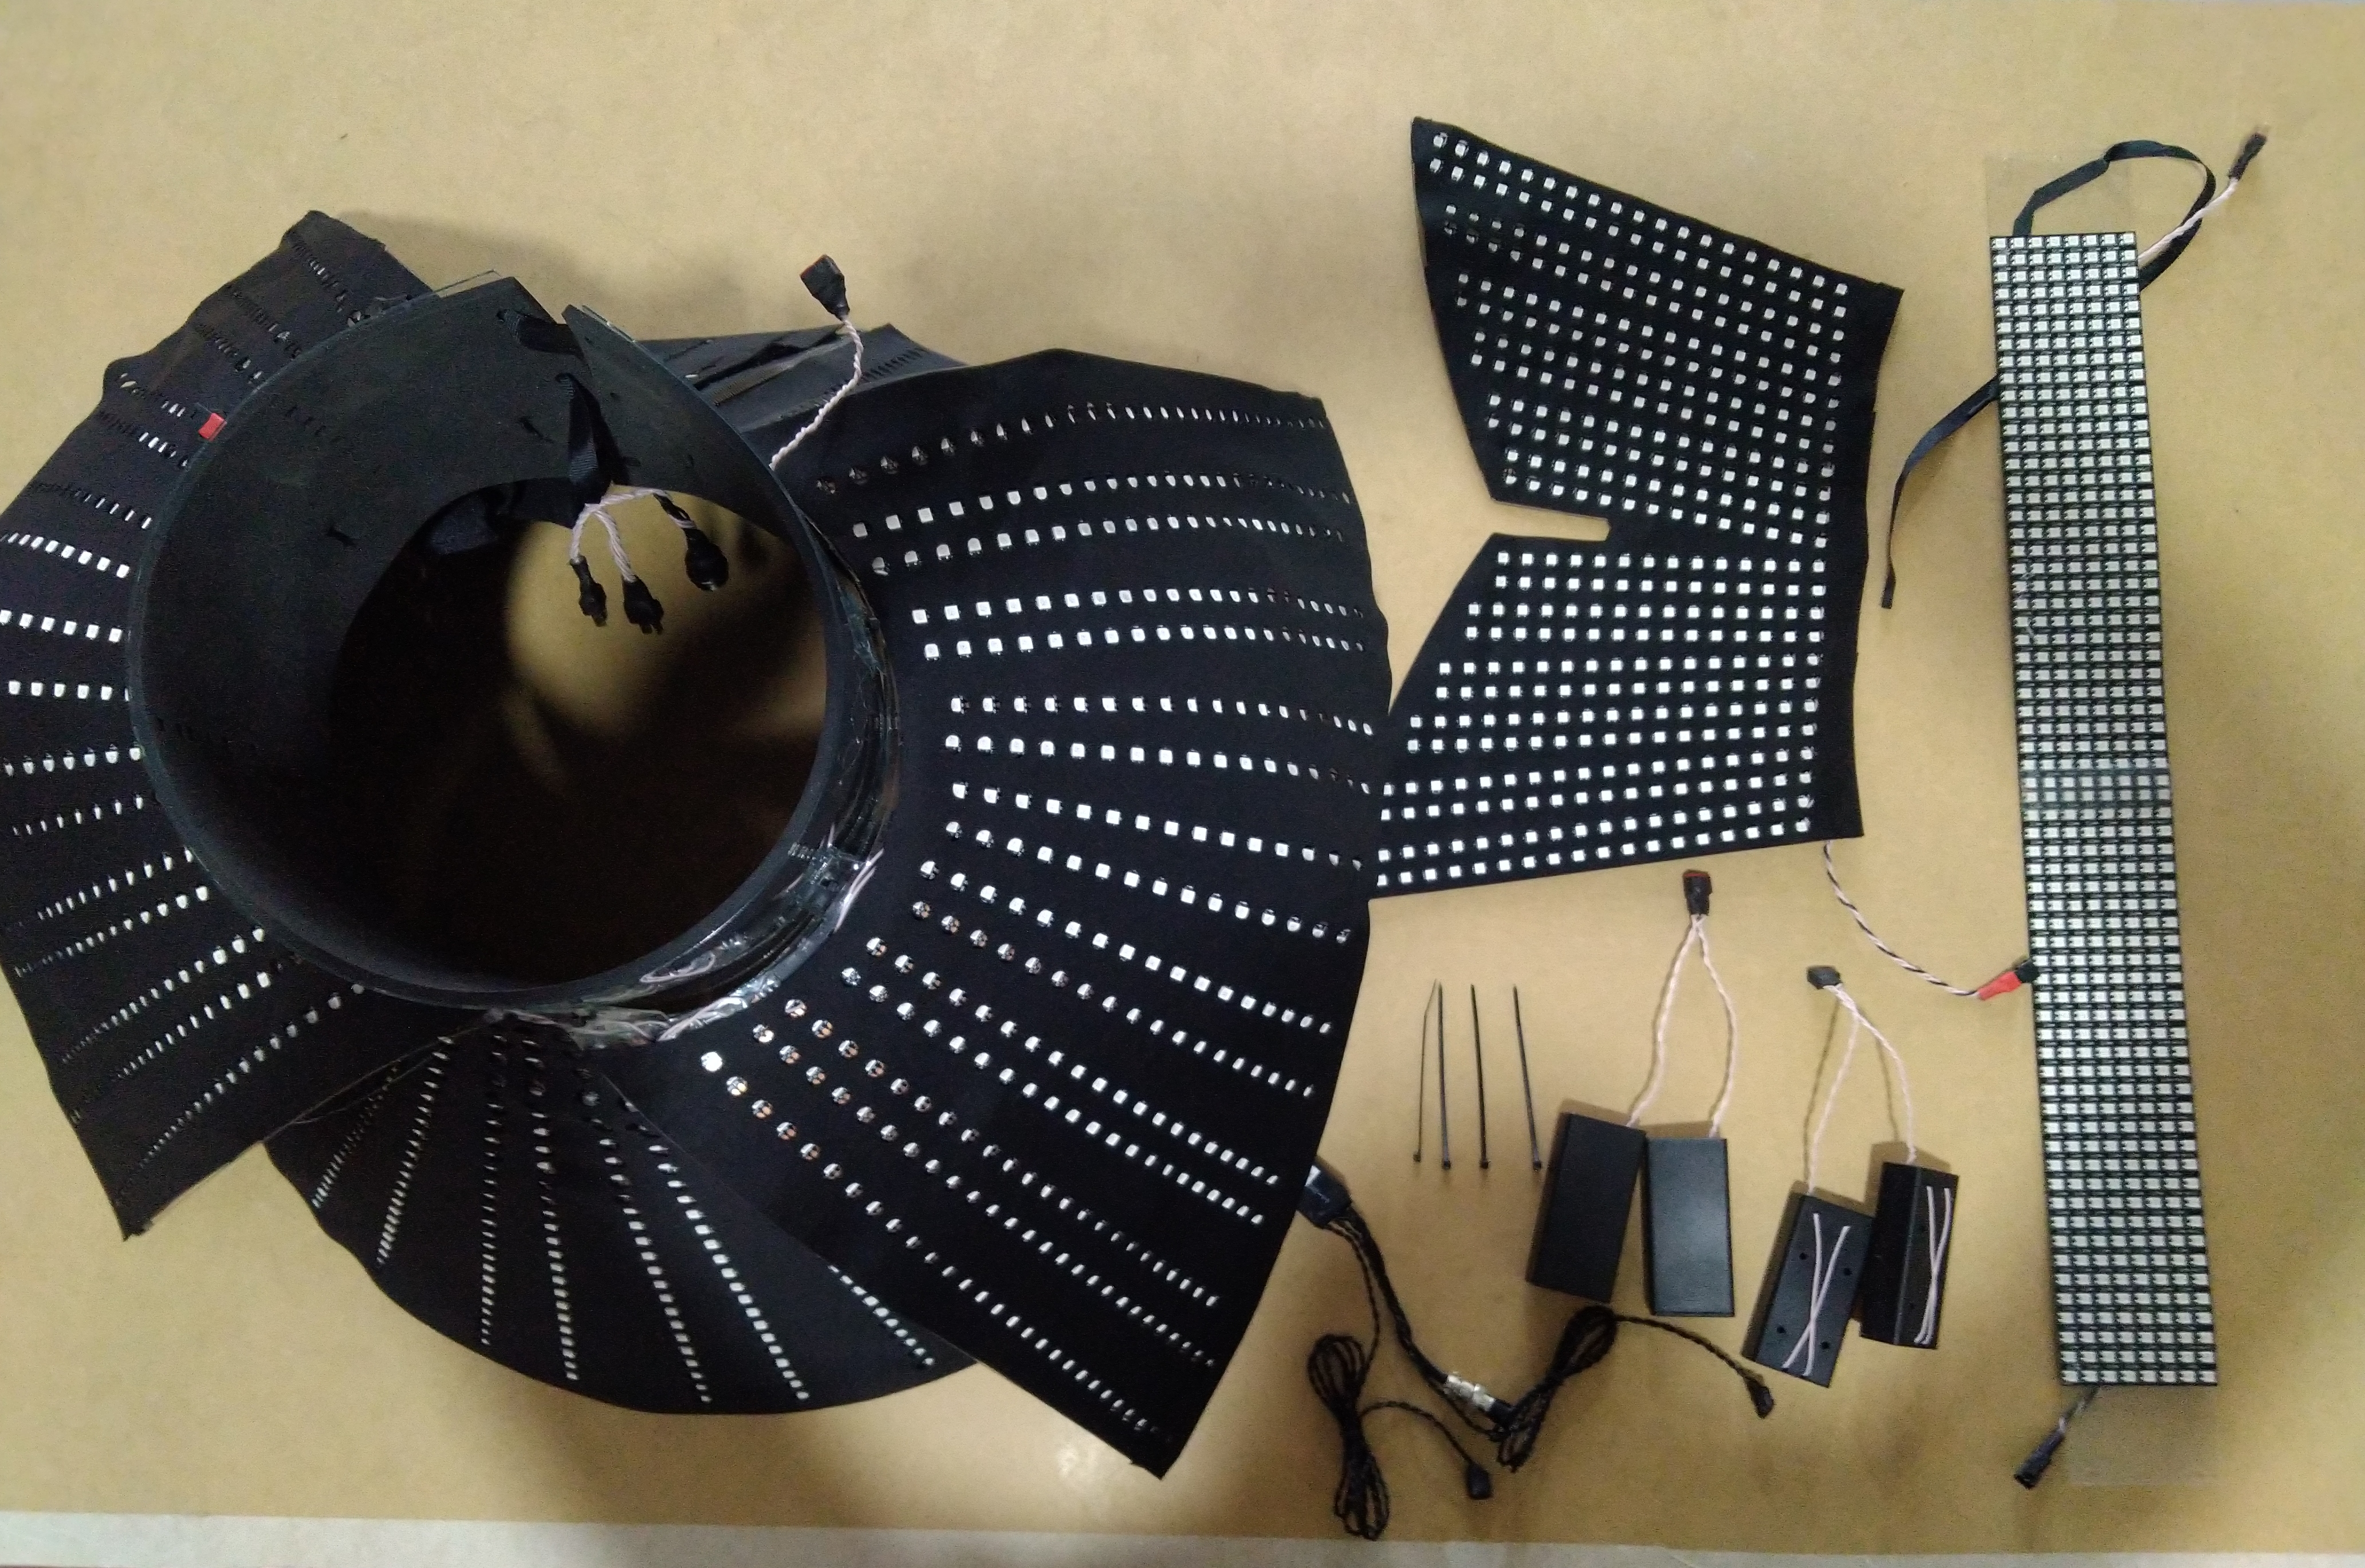
To start working with a dress, you need to assemble it. To do this, take out of the box:
- skirt
- top dresses
- belt
- 2 sets of battery boxes. You get 3 sets, one of them is a spare
- controller, another spare controller.
- plastic cable ties (they are in a plastic bag with a repair kit).
You can see everything you need for assembly in the photo below.
Also for assembly, you will need wire cutters or scissors to cut off the excess part of the plastic cable tie.
1) Take the top of the dress and remove the fabric overlay from the LEDs. The fabric overlay is attached with Velcro, so it will be easy to remove:
2) Insert the cable tie into the hole on the skirt and into the hole on the top of the dress so that the cable tie sticks out:
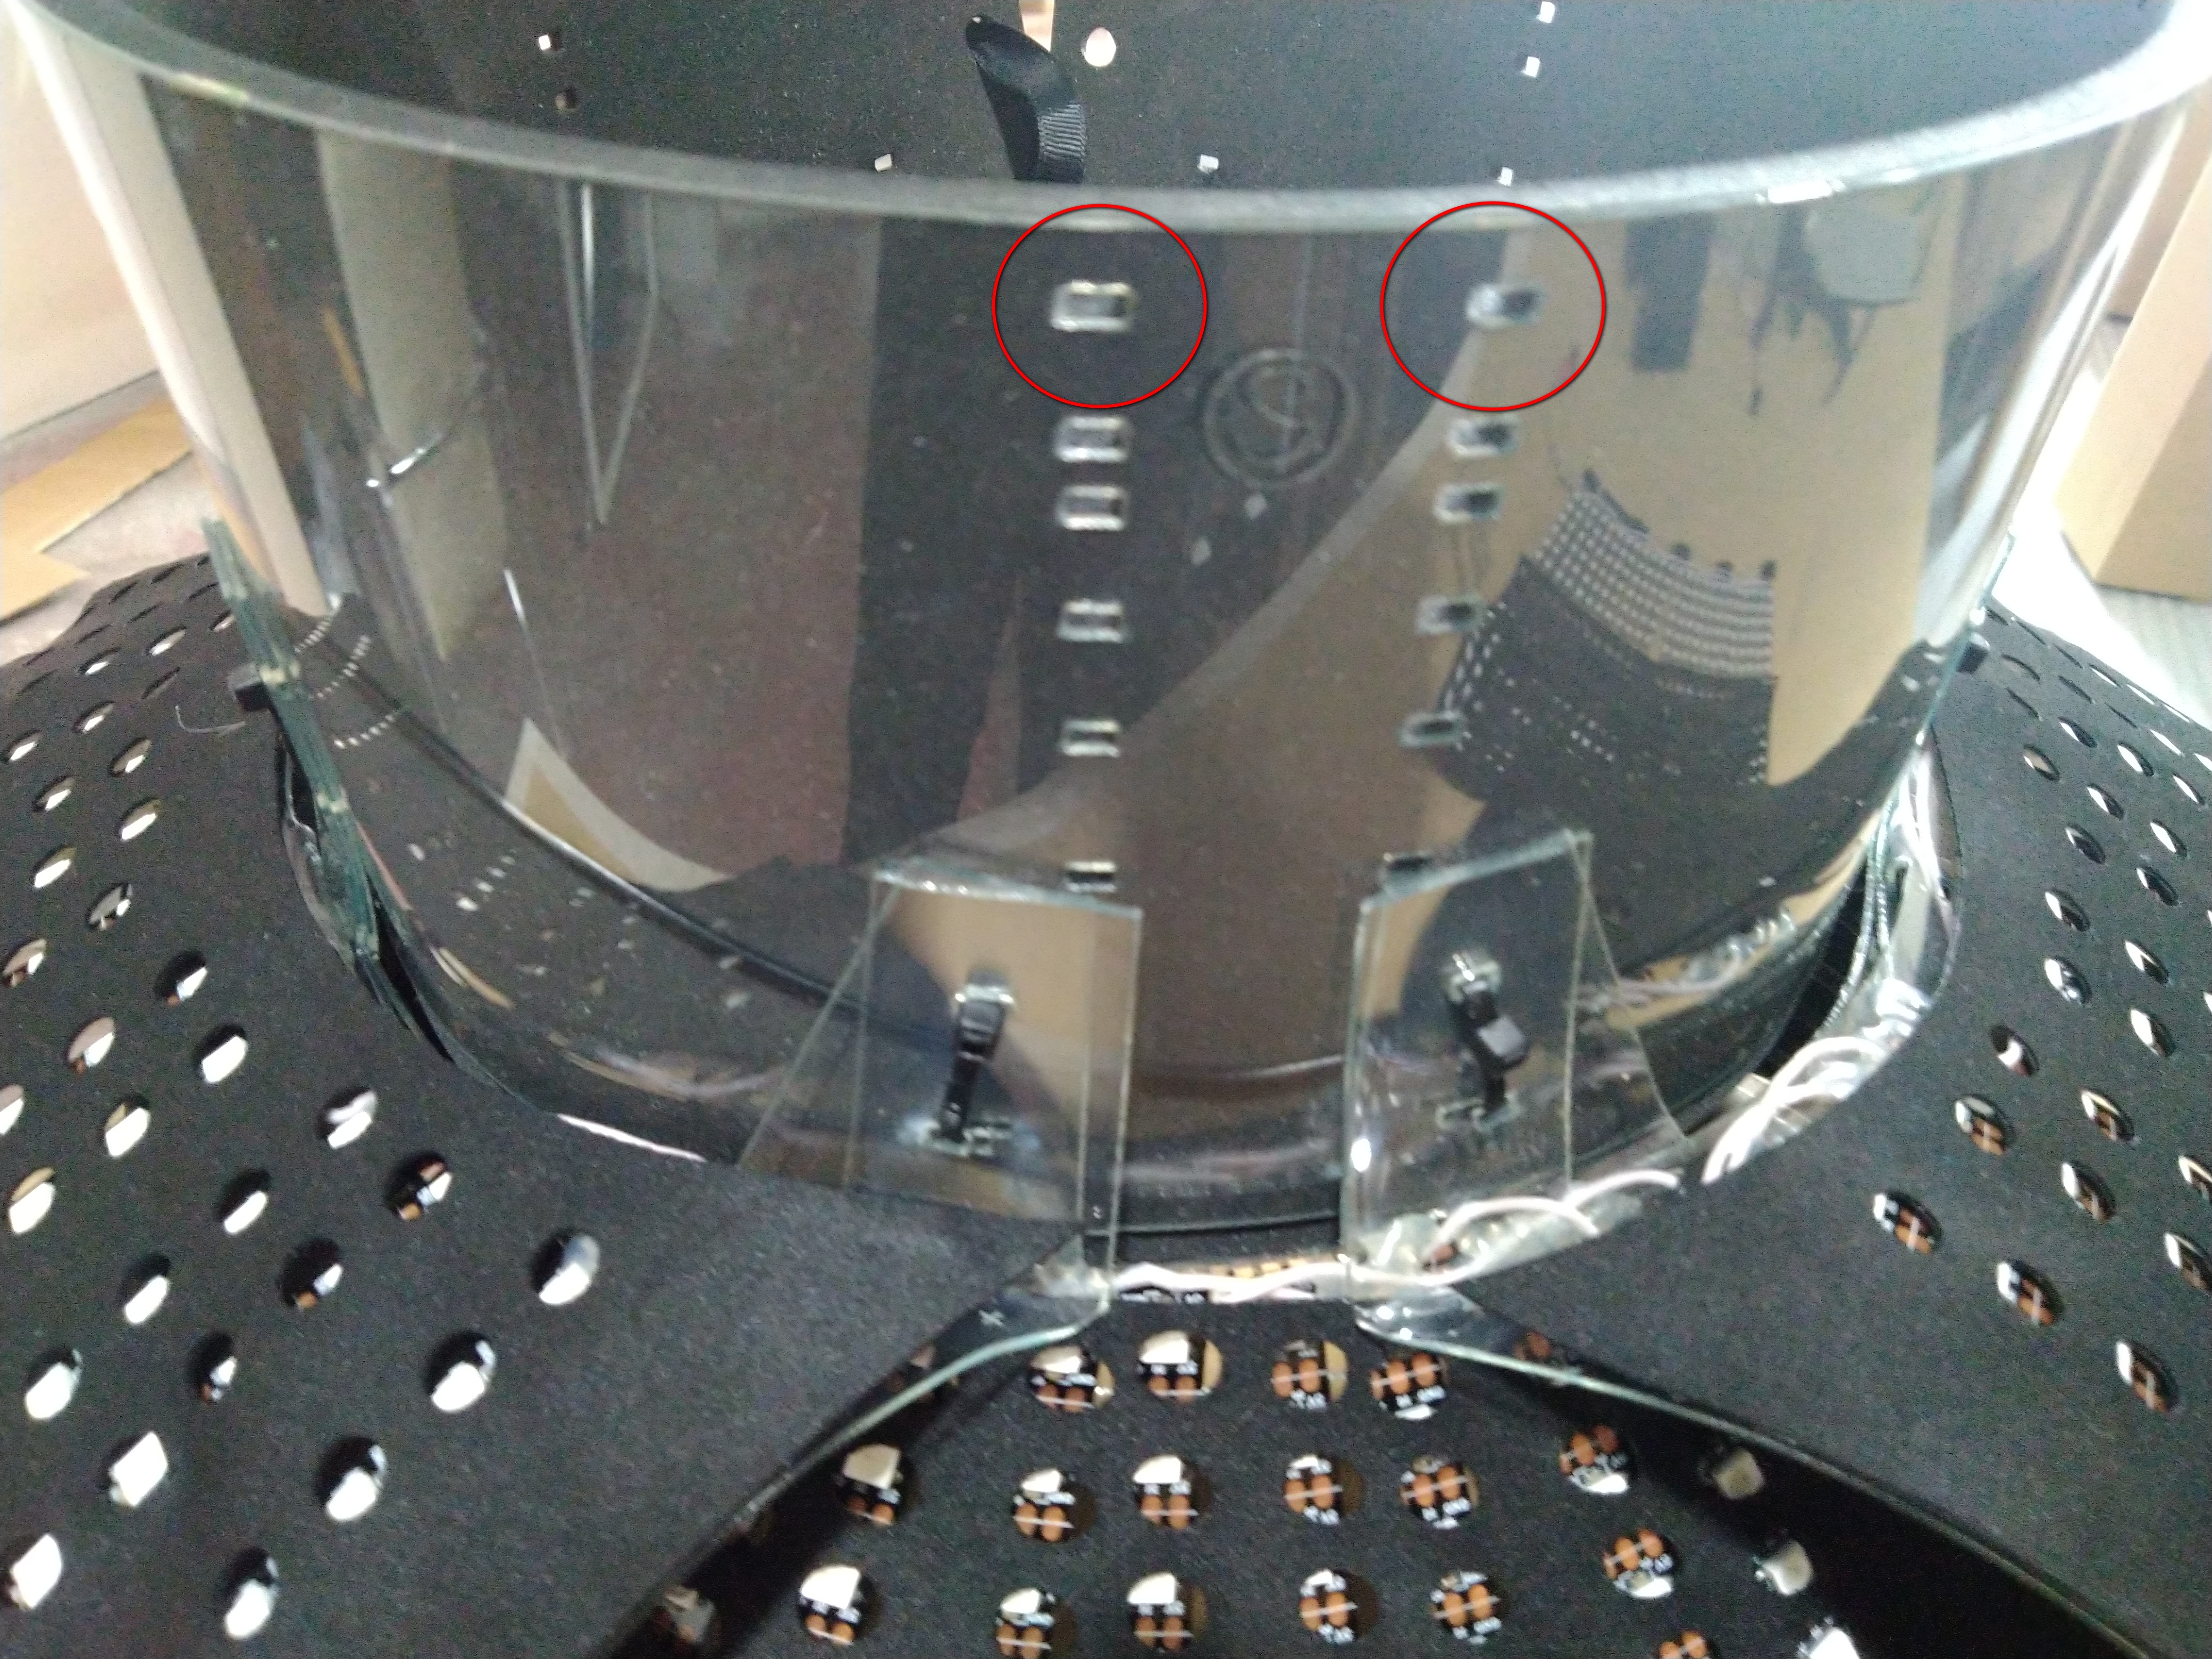
4) Fasten the cable tie from the inside:
5) Similarly, insert 3 more cable ties into the holes at the top of the dress and fasten them. You should get this result:
6) Cut off the rest of the cable tie with wire cutters or scissors. Do this as close to the lock as possible so as not to leave sharp edges:
The cable tie lock should be raised as far as possible to hide the sharp edge
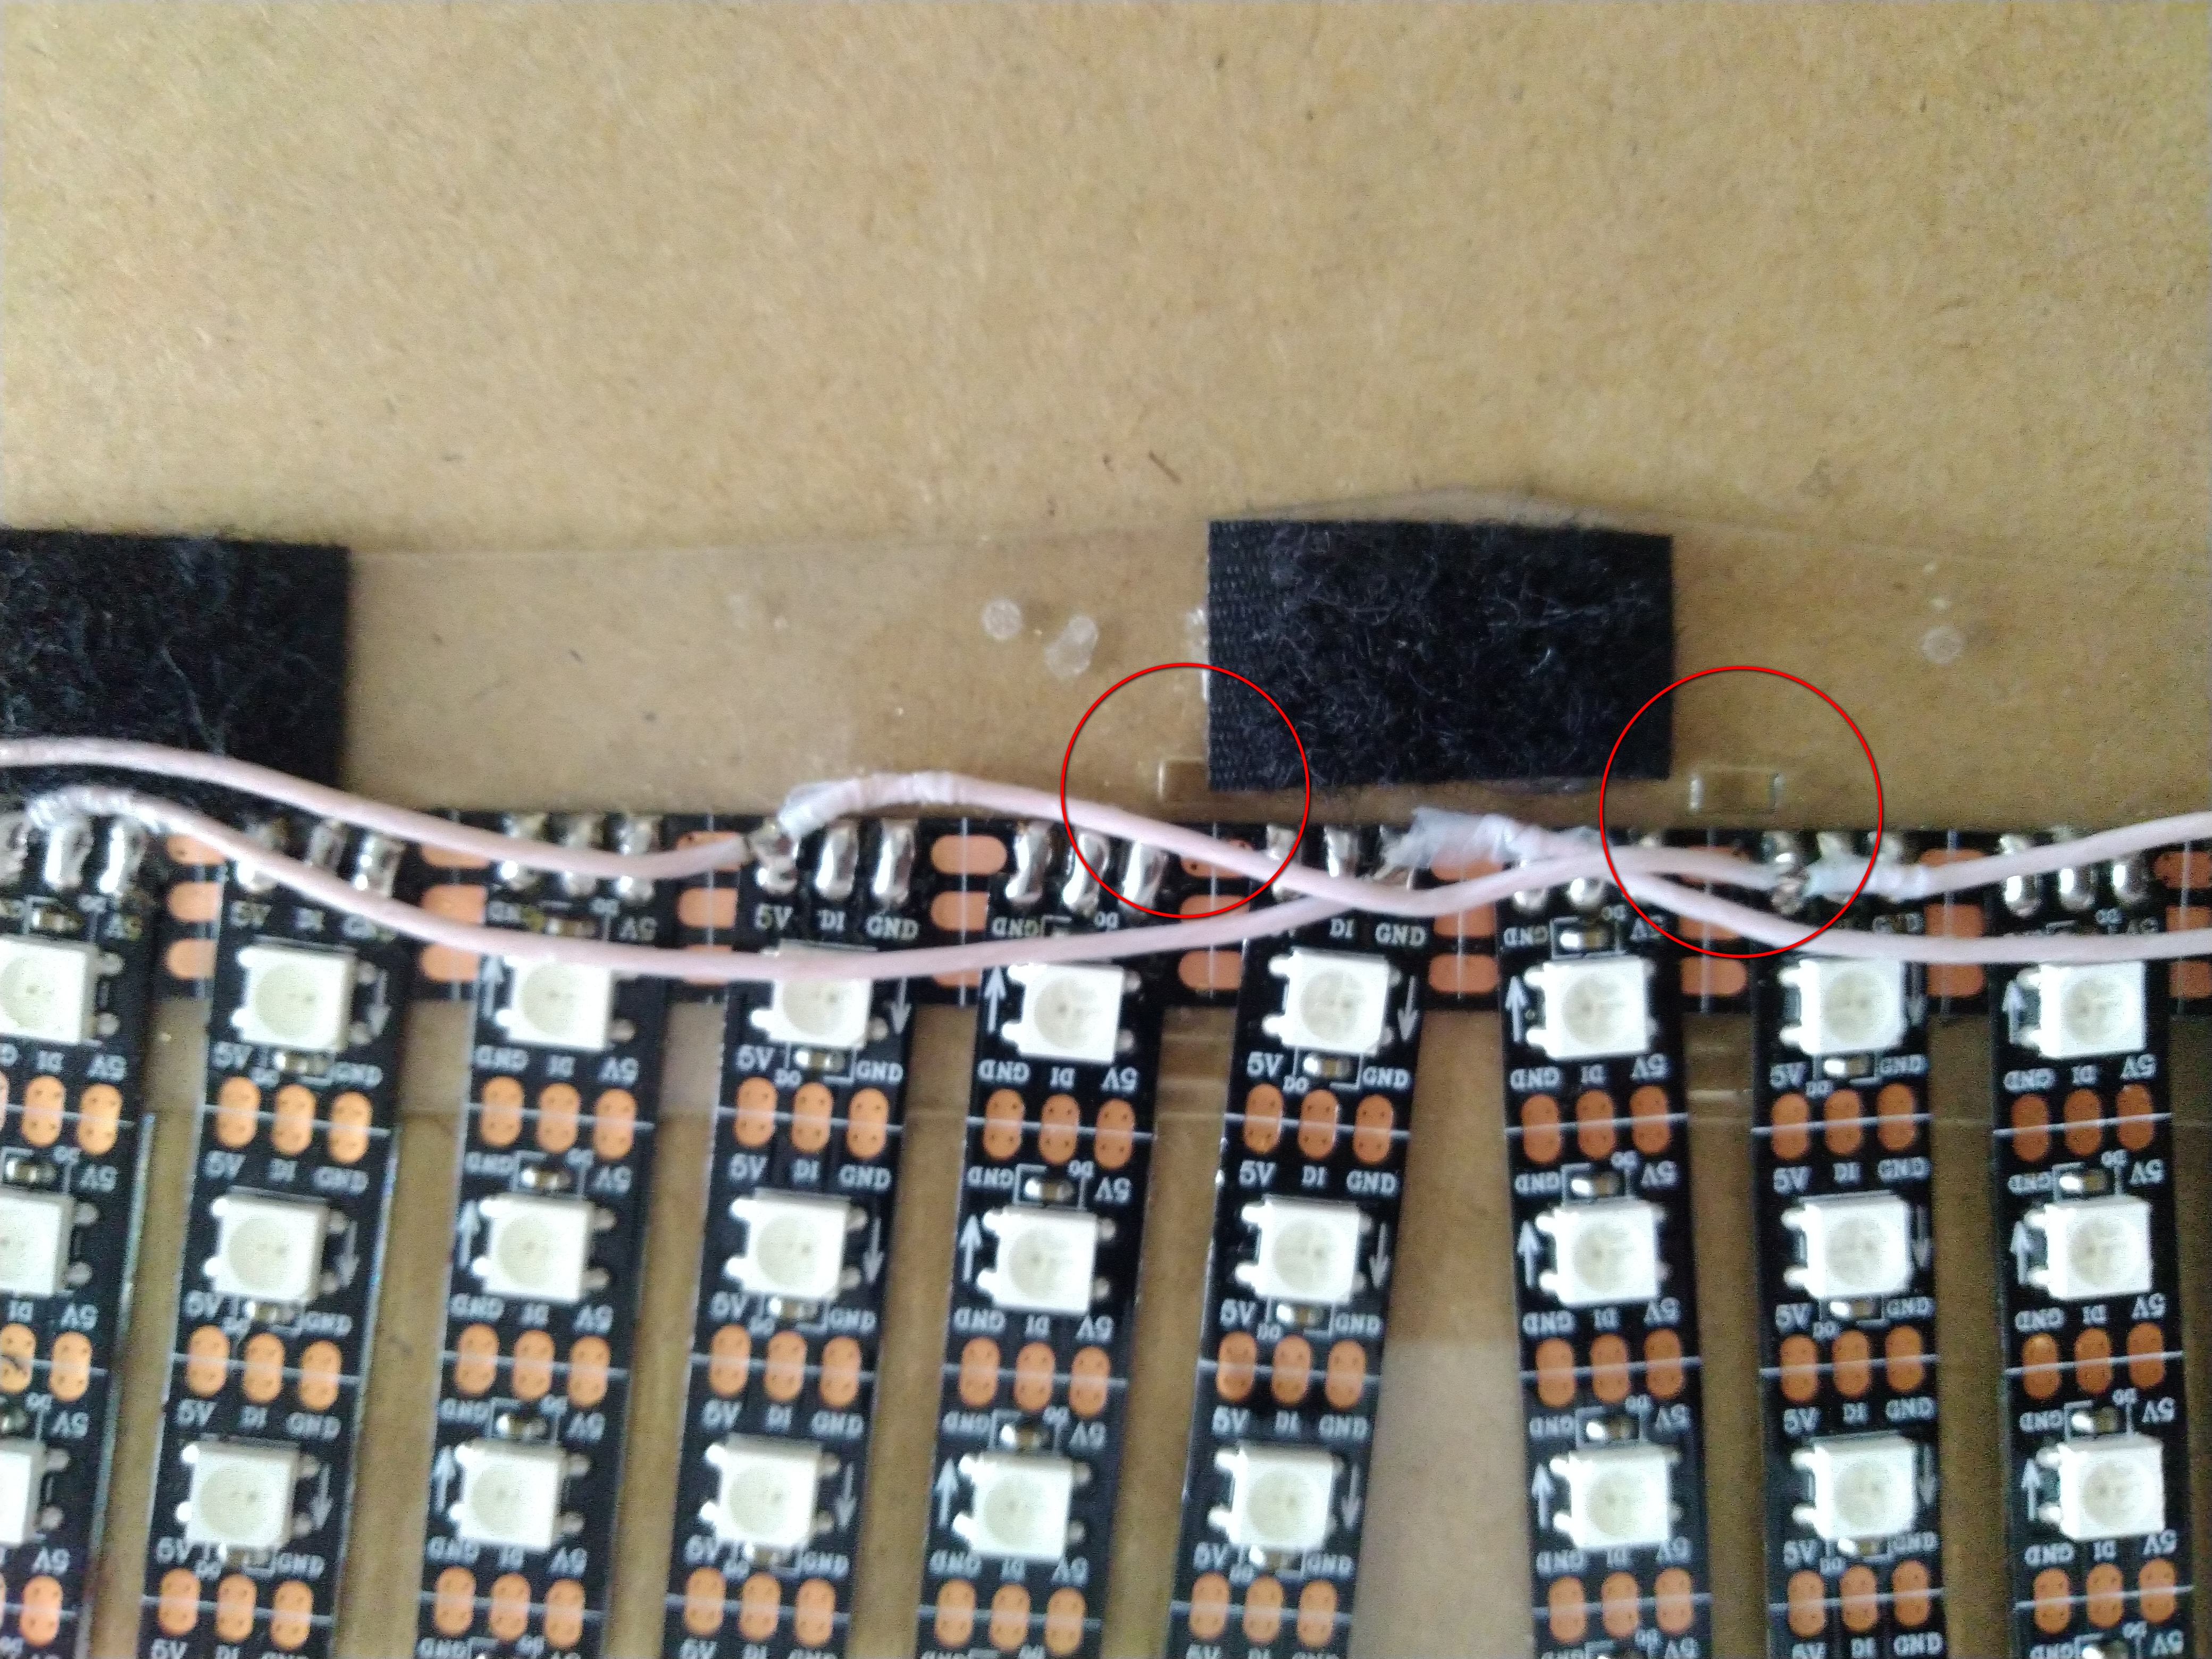
7) Connect the connector from the top of the dress to the skirt:
8) Connect the belt to the dress. To do this, you need to connect data connector and power connector:
Connect data connector:
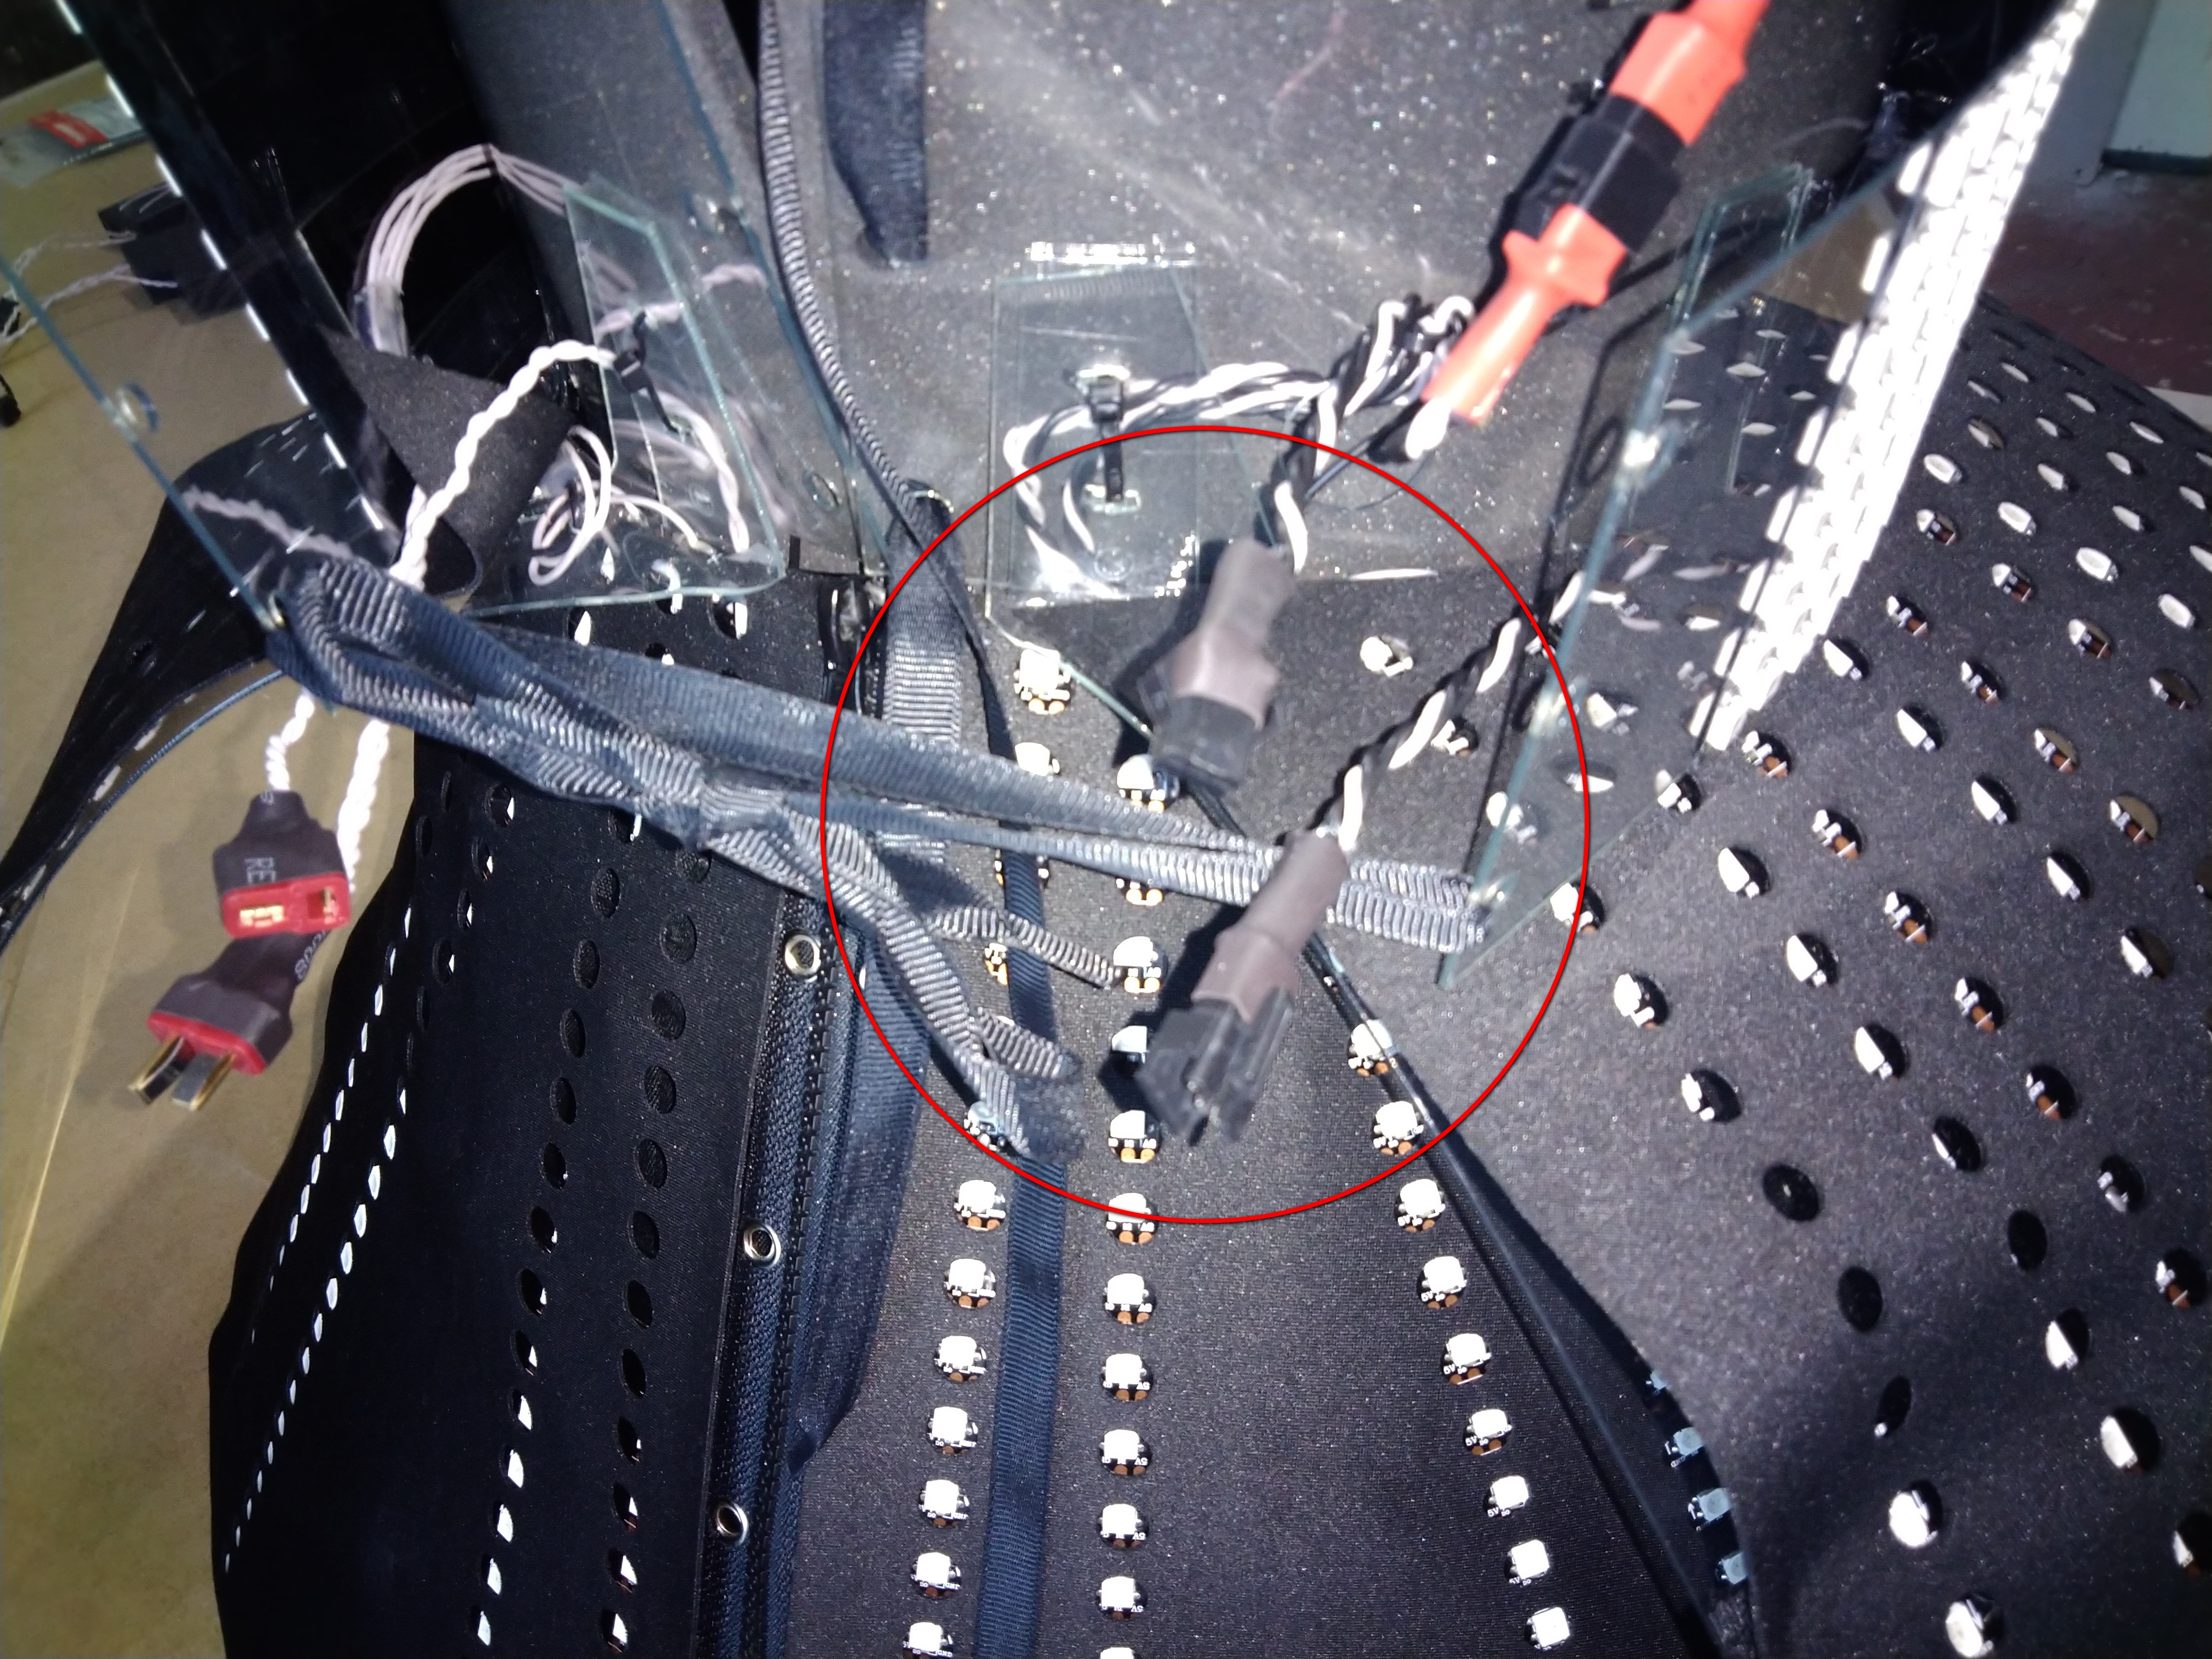
Connect data connector:
Connect power connector:
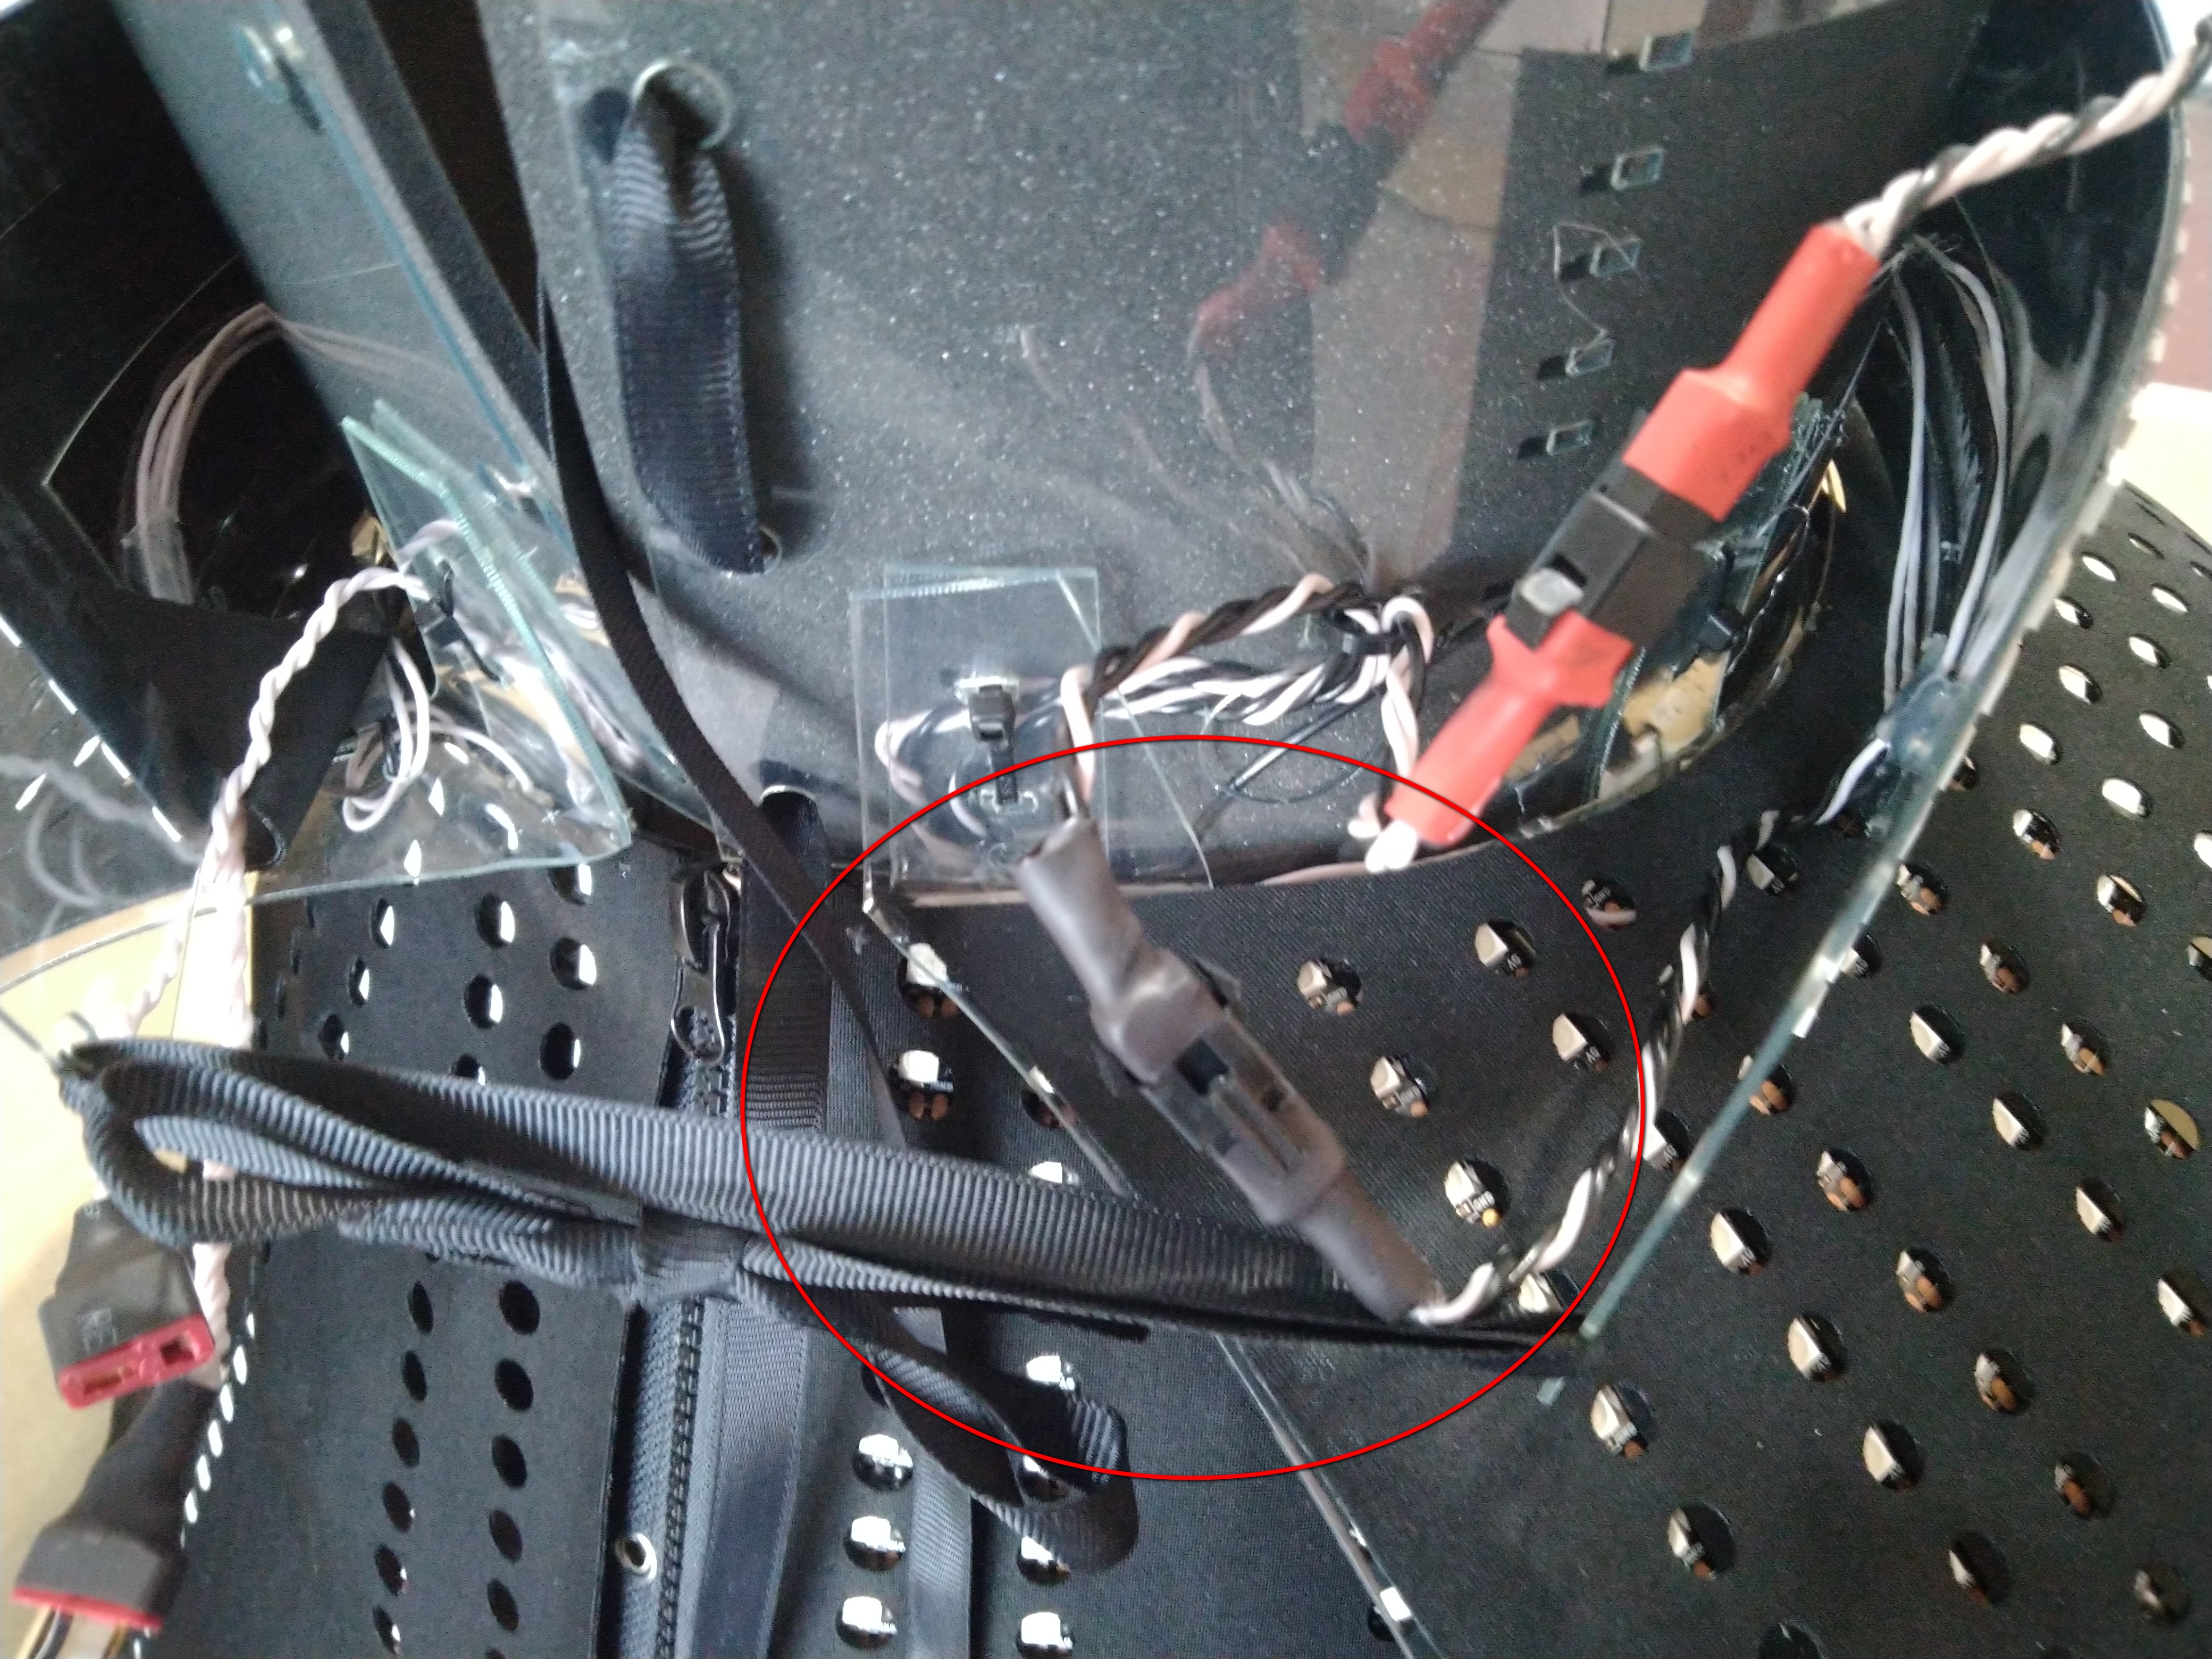
9) Connect the controller (part with buttons) to the dress. The controller connects under the skirt to a 10-pin connector:
After connecting, the controller must be placed into one of the pockets
10) Insert the batteries into the battery boxes and connect them to the dress. Battery boxes as well as the controller are connected under the skirt:
Be careful when connecting batteries, do not reverse the polarity!
Then connect the battery box, the LED on the controller will light up in blue. After that, press any button on the controller to turn on the effects. One button switches the effects forward and the other backward.
On the GIF below you can see the work of the dress after connection:
To turn off the effects, you need to hold any button for 3 seconds, then release it and the effect will stop.
To turn off the effects, you need to hold any button for 3 seconds, then release it and the effect will stop.
At the end of working with the dress, disconnect the battery box. The battery may not be removed.
Charge batteries after usage:
Batteries can be charged with a specialized charger purchased with the batteries.
Or with the Imax B6 charger. Charging instructions can be found here:
Related Articles
How to assemble Smart LED Rainbow Screen Mask
This manual will tell you how to assemble and work with Smart LED Rainbow Screen Mask To work with the Ballet tutu, you need to purchase 18650 batteries Flat-top batteries are recommended, but not required. Make sure the battery is 65 mm long, some ...How to assemble Smart LED Bellydance Rainbow wings – 500 LEDs by ETERESHOP B05
This manual will tell you how to assemble and work with Smart LED Bellydance Rainbow wings – 500 LEDs by ETERESHOP B05 To work with the wings, you need to purchase 18650 batteries Flat-top batteries are recommended, but not required. Make sure the ...How to assemble Smart Ballet Tutu with164 LEDs
This manual will tell you how to assemble and work with Smart Ballet Tutu with164 LEDs To work with the Ballet tutu, you need to purchase 14500 batteries Unlike 18650 batteries, 14500 batteries do not have to be flat. Required characteristics: ...How to assemble Smart Pixel Fairy Cosplay Angel Wings with 200 LEDs by ETERESHOP O11
This manual will tell you how to assemble and work with Smart Pixel Fairy Cosplay Angel Wings with 200 LEDs by ETERESHOP O11 To work with the wings, you need to purchase 18650 batteries Flat-top batteries are recommended, but not required. Make sure ...LED Effects Programming using ETERESHOP Screen Grabber
For those of you who bought our LED pixel products and don’t have much time for creation of your own effects, ETEREshop team released a specialized software to grab effects you like from any source. Grabbed image can be uploaded straight to the SD ...