Assembling a large dodecahedron
List of elements:
mirror panels - 12 pcs
metal edges (long ones - 10 pcs, medium - 10 pcs, short - 10 pcs)
metal stars (big ones - 15 pcs, medium - 5 pcs, small - 5 pcs)
screws
base
power supplies (3 pcs)
control panel 1 pc
Dodecahedron assembly
1.1 Lower base
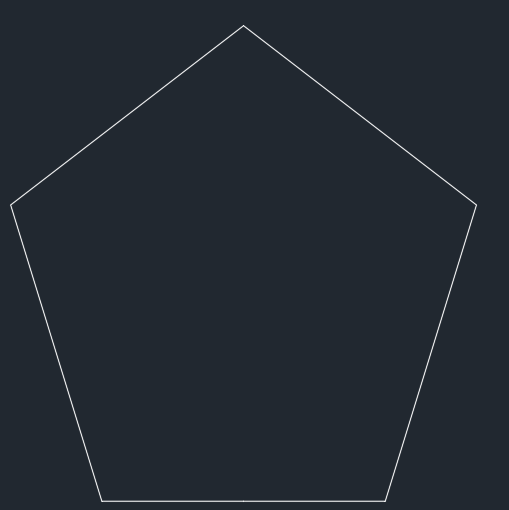
Assembly begins from the lower base. There are ventilation holes in the lower base (pic 1)

Pic. 1 - dodecahedron base
The lower and the upper bases are equal in size, therefore the upper one can be put aside
Note, please!: the mirror film should be inside the dodecahedron, not outside!
The profile for the edges has 3 different lengths:
short
long
medium
The pic below displays the location of each profile type, respectively.
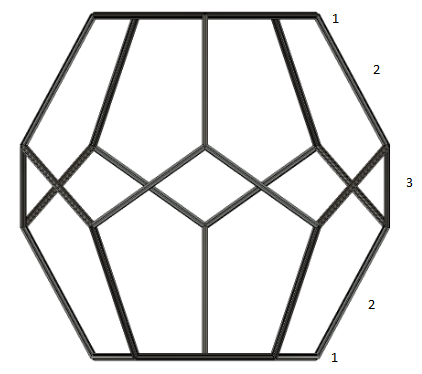
pic. 2 - numeration of the ribs
Assemble the lower base as it’s shown in the pic 3.

Pic. 3 - part of the lower base
To do this, a small profile and large stars are used (pic. 4)
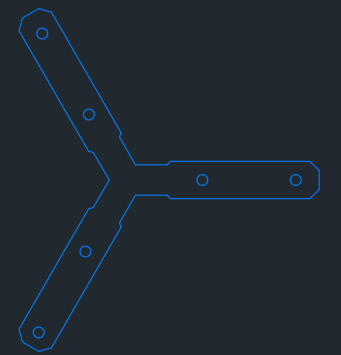
Pic. 4 - Big stars
You need to take the profile, turn it by 45 ° and insert the big stars into the outer groove on both sides. Then we take 2 more profiles and connect them with the first one to get the design as in Pic. 3. Screw the screws into the holes of the stars to fix the structure. Insert them into the free ends of the profile.
Pic. 5 shows a part of the assembled base
Pic. 5 - the assembled part of the base
Note: if necessary, the stars can be bent during the assembly process.
Then we take the lower base and insert it along the inner grooves of the previously assembled structure.
The side is inserted into the profile almost entirely as it’s shown in the pic. 6.

Pic.6 - Section of the inserted base
Assemble the remaining part of the base using a big star (pic 7)
Pic.7 - Remaining part of the base
After we have connected the 2 remaining profiles, we pull them onto the base in such a way that the stars that are already installed on the first part get into the outer grooves of the profile that we are pulling, and the side itself gets into the inner grooves of this profile.
Tighten all the stars with screws.
1.2 Assembly of the side edges
We take a long profile and install it in each corner, so that the remaining part of the star gets into the outer groove of the profile and tighten with screws.
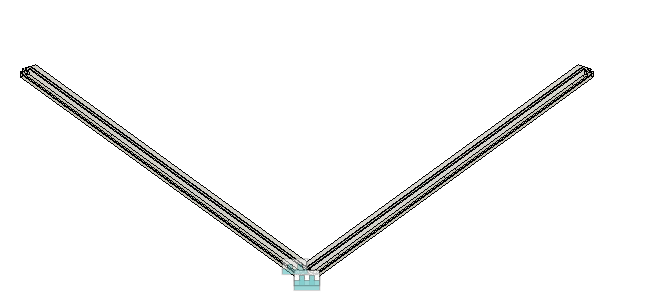
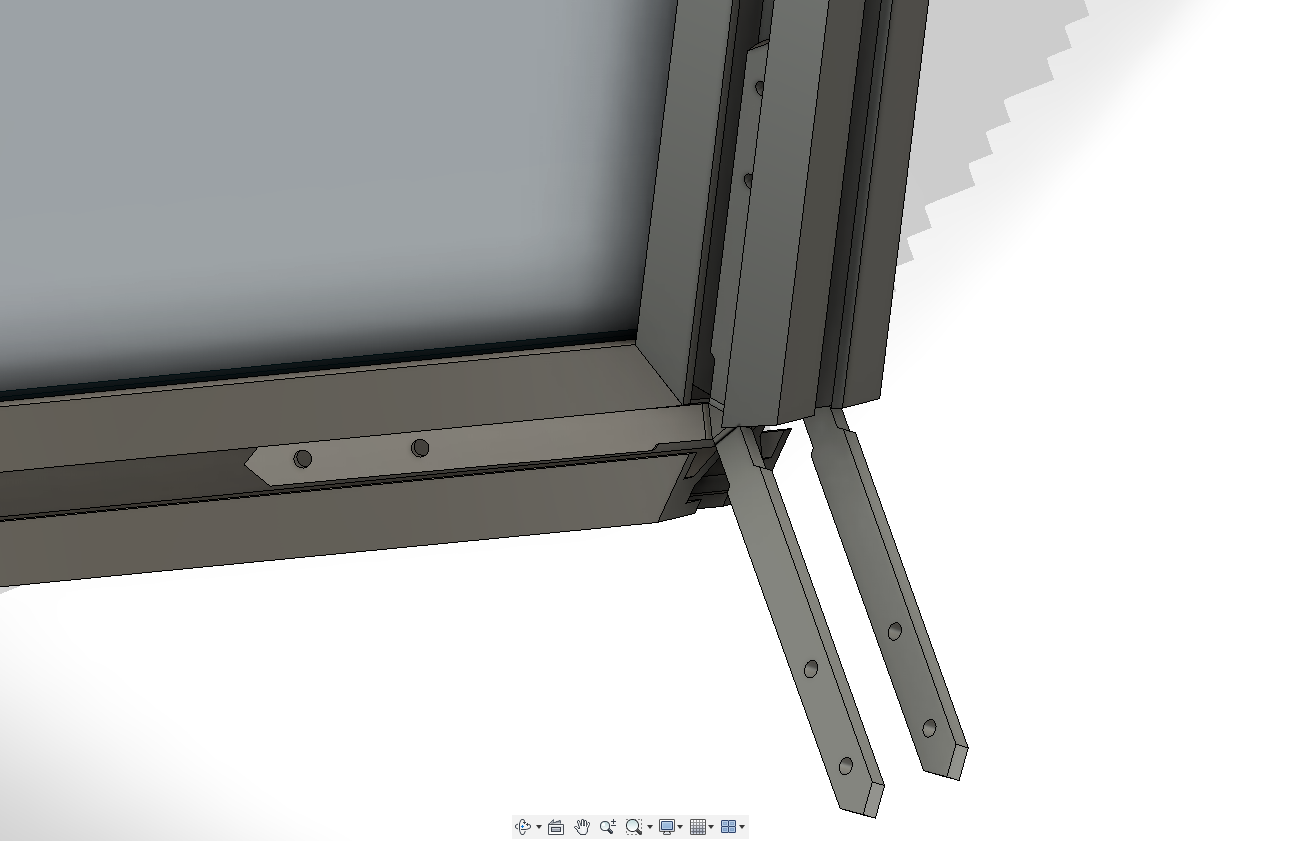
We take the side edge (Pic.8) and insert it into the grooves of the profile.
Important!: all the side edges are equal, but they have different sides length. They should be installed with the extended side up.
Pic.8 - Side edge
We insert all the side edgesin the same way.
We insert large stars at the ends of the long profile and fix them with screws.
We take a medium-sized profile and insert it into the upper parts of the side edges so that the outer grooves enter the stars mounted on long ribs, and the side gets in the inner groove and does not create any gaps.
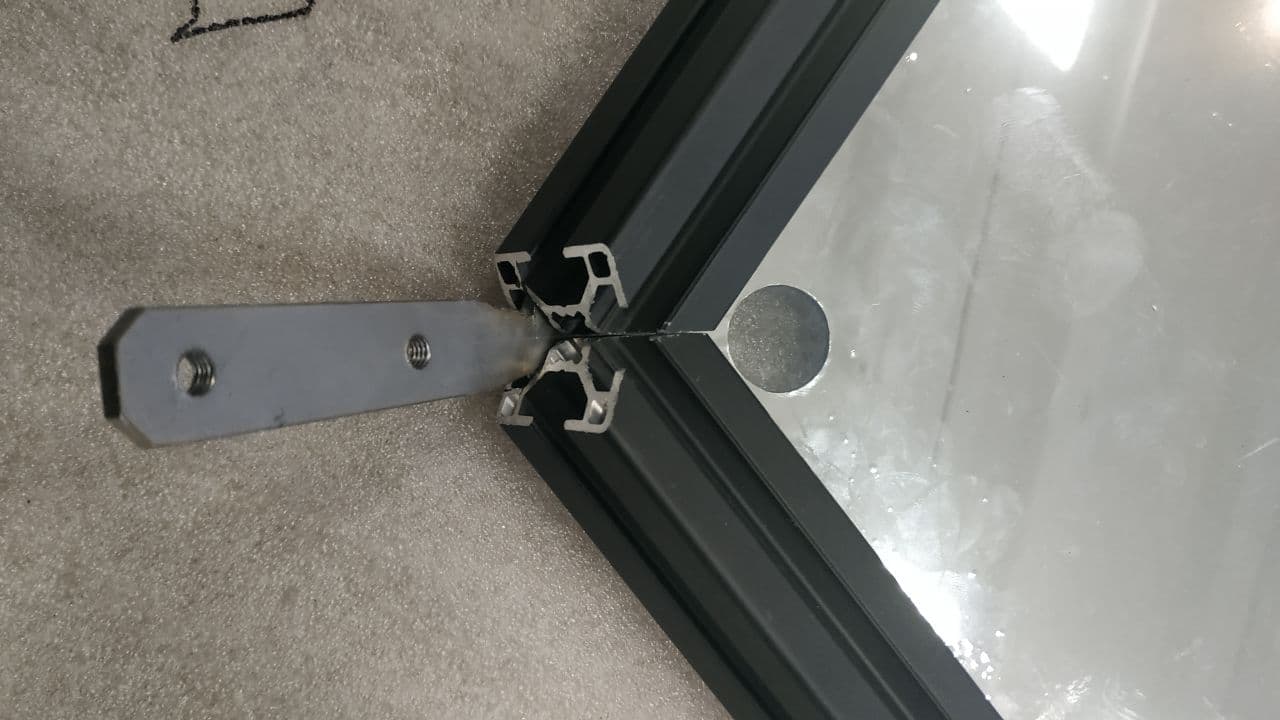
To fix this profile, 2 types of stars are used: small and medium (Pic. 9, Pic. 10)

Рис .9 - a small star

Рис. 10 - a medium star
Notice: a small and a medium star differ from each other only in the location of the holes and the presence of a thread in the small star.
A small star is installed from the inner part of the dodecahedron, a medium one - from the outer part and are tightened with the screws (pic.11).
Note: if necessary, the stars can be bent in the process of assembling
Pic.11 - Installation of a small and a medium stars
Repeat these steps with all the sides.
1.3 Assembling of the second part
The upper part is assembled on the analogy with the lower one, but only up to the point of inserting the side edges
1.4 Final assembly
Right afterwards the two parts are assembled, they are to be put together
Note: for your convenience, it is better to carry out the final assembly with at least 2 people.
We take the upper part, turn it over and join it in such a way that the stars get into grooves of the profile.
Then we need to insert the side edges.
For this purpose, lift 2 edges from the side which the installation will be performed from and insert the side itself. After it’s installed, it is advisable to tighten the screws on the star that is located a little further from the side that will be installed next.
We set all the sides in this way. After that all the screws are to be tightened.
.
Afterwards all the stars need to be fixed with the screws.
Note: if necessary, you can tighten and untighten the stars in order to align the dodecahedron.
Then we install the assembled dodecahedron onto the base.
2. Assembly of the electronic part
Right after the dodecahedron is assembled, we need to lay the strip. The strip is installed from the inside along the edges and according to the following schemes.

Pic. 12 - The scheme of the direction of the strip on one data
Dodecahedron has 5 datas. Each one is installed according to the scheme as it’s shown in the pic. 12.
Note: the direction of the strip data is indicated by an arrow.
Each data is marked with a number on the connector. The location of the inputs is indicated in pic.13.
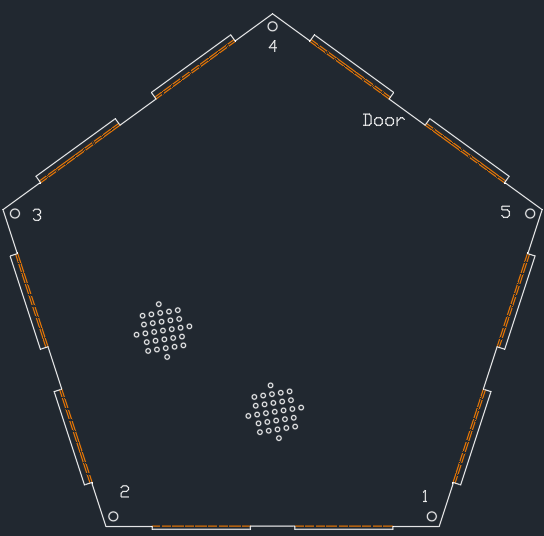
Pic. 13 - location of the inputs.
Note: data inputs are not marked on the wooden base
Right after the strip is laid, connect all connectors according to the numbering and all the power supplies also. There are separate holes in the base for connecting connectors.
Related Articles
How to assemble Smart Ballet Tutu with164 LEDs
This manual will tell you how to assemble and work with Smart Ballet Tutu with164 LEDs To work with the Ballet tutu, you need to purchase 14500 batteries Unlike 18650 batteries, 14500 batteries do not have to be flat. Required characteristics: ...How to assemble EVA Dress SMART LED
This manual will tell you how to assemble and work with EVA Dress SMART LED and other similar dresses To work with the dress, you need to purchase 18650 batteries Flat-top batteries are recommended, but not required. Make sure the battery is 65 mm ...How to assemble Smart LED Rainbow Screen Mask
This manual will tell you how to assemble and work with Smart LED Rainbow Screen Mask To work with the Ballet tutu, you need to purchase 18650 batteries Flat-top batteries are recommended, but not required. Make sure the battery is 65 mm long, some ...How to assemble Smart LED Bellydance Rainbow wings – 500 LEDs by ETERESHOP B05
This manual will tell you how to assemble and work with Smart LED Bellydance Rainbow wings – 500 LEDs by ETERESHOP B05 To work with the wings, you need to purchase 18650 batteries Flat-top batteries are recommended, but not required. Make sure the ...What batteries are needed?
Our products use two types of rechargeable batteries: rechargeable batteries type 18650 rechargeable batteries type 14500 Rechargeable batteries type 18650 Flat-top batteries are recommended, but not required. Make sure the battery is 65 mm long, ...